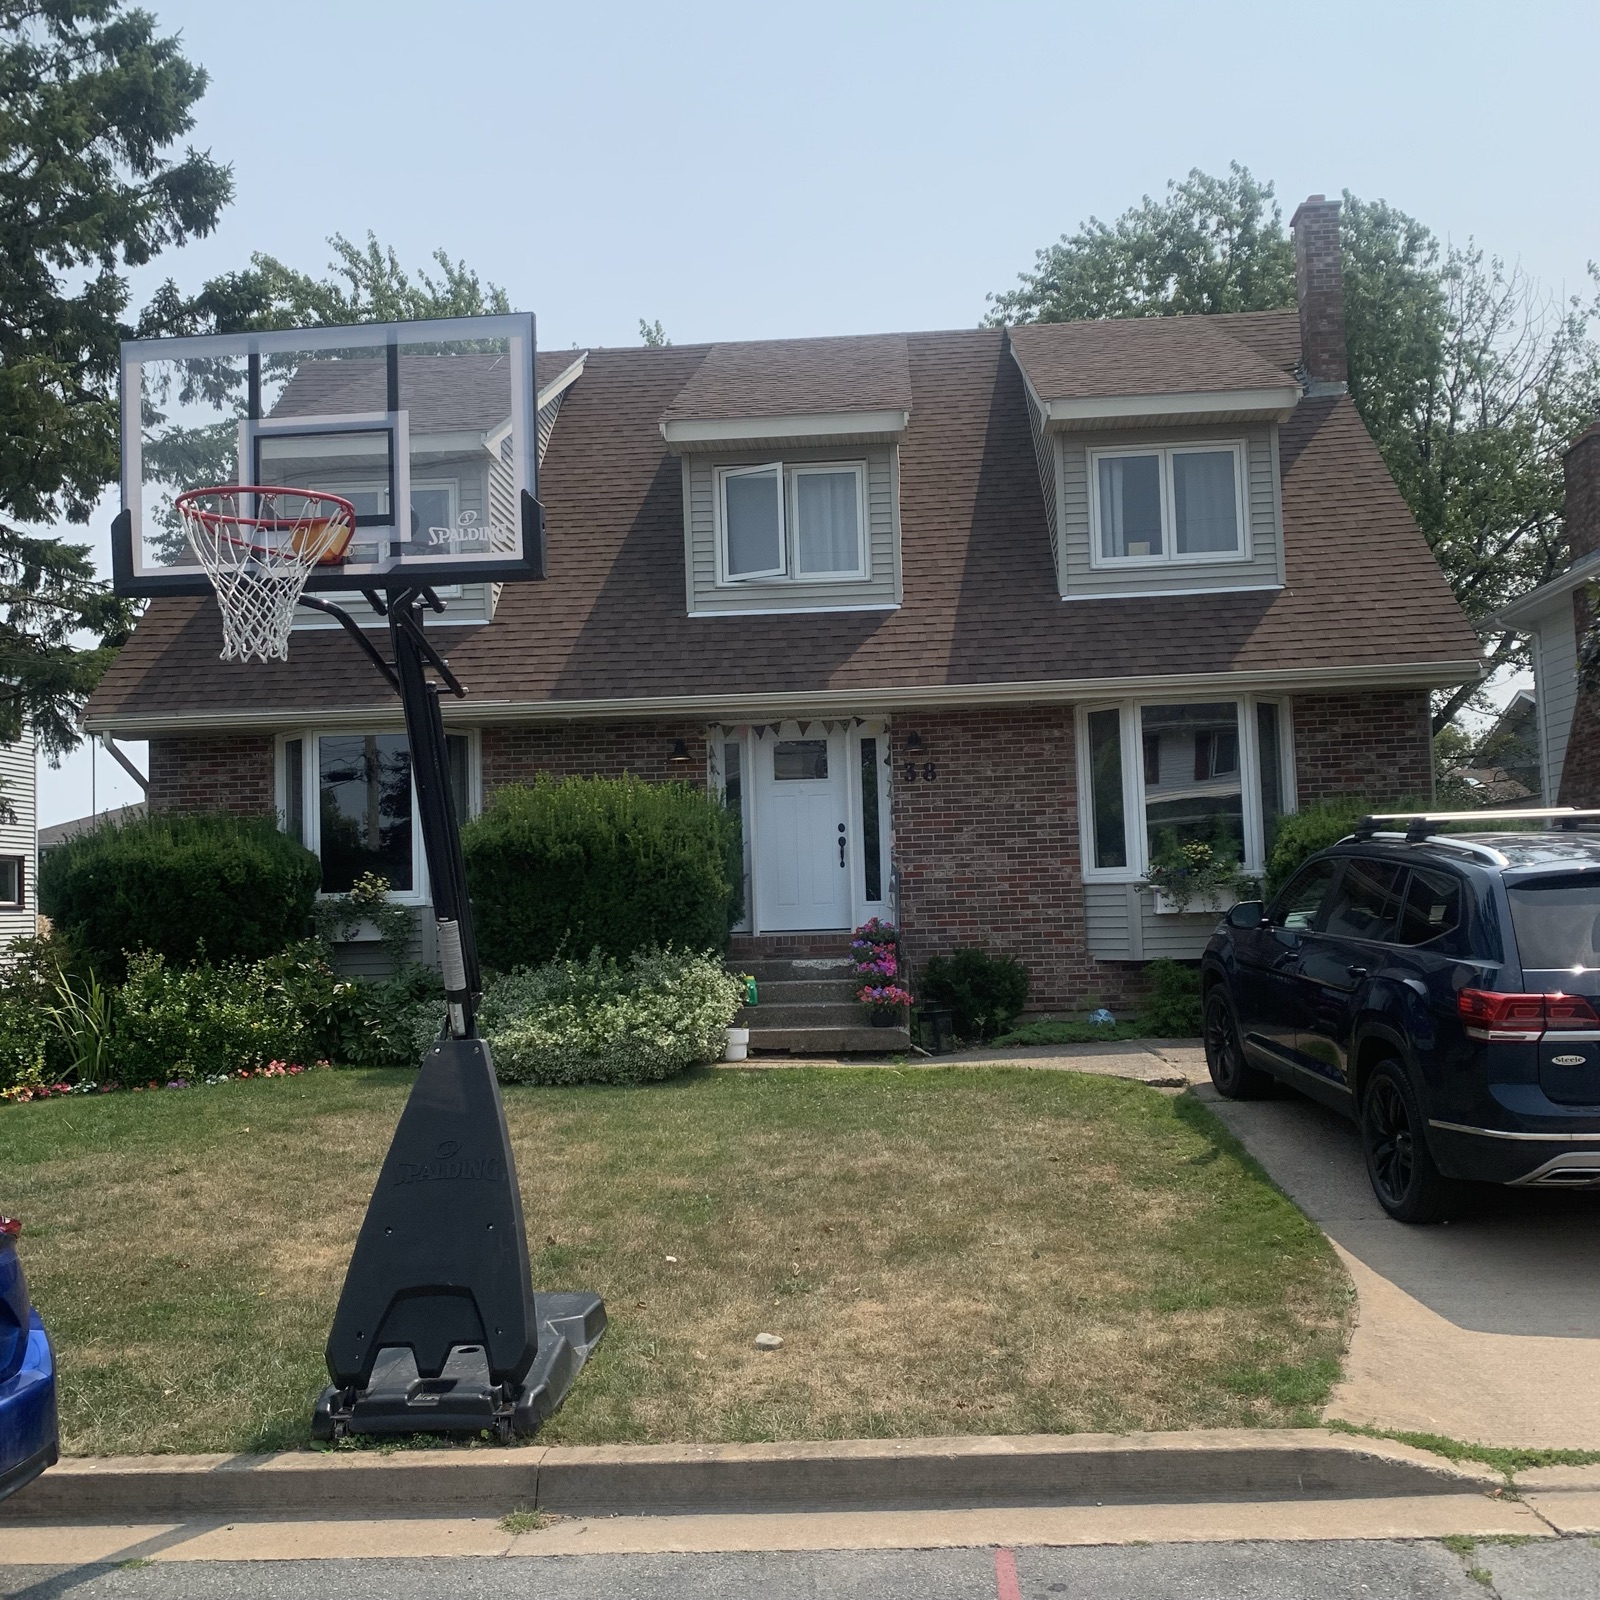
Where it started
The old concrete front steps.
A cedar front porch and steps, replacing the old concrete stoop. Cedar holds up outside — and it smells great.
The old concrete front steps.
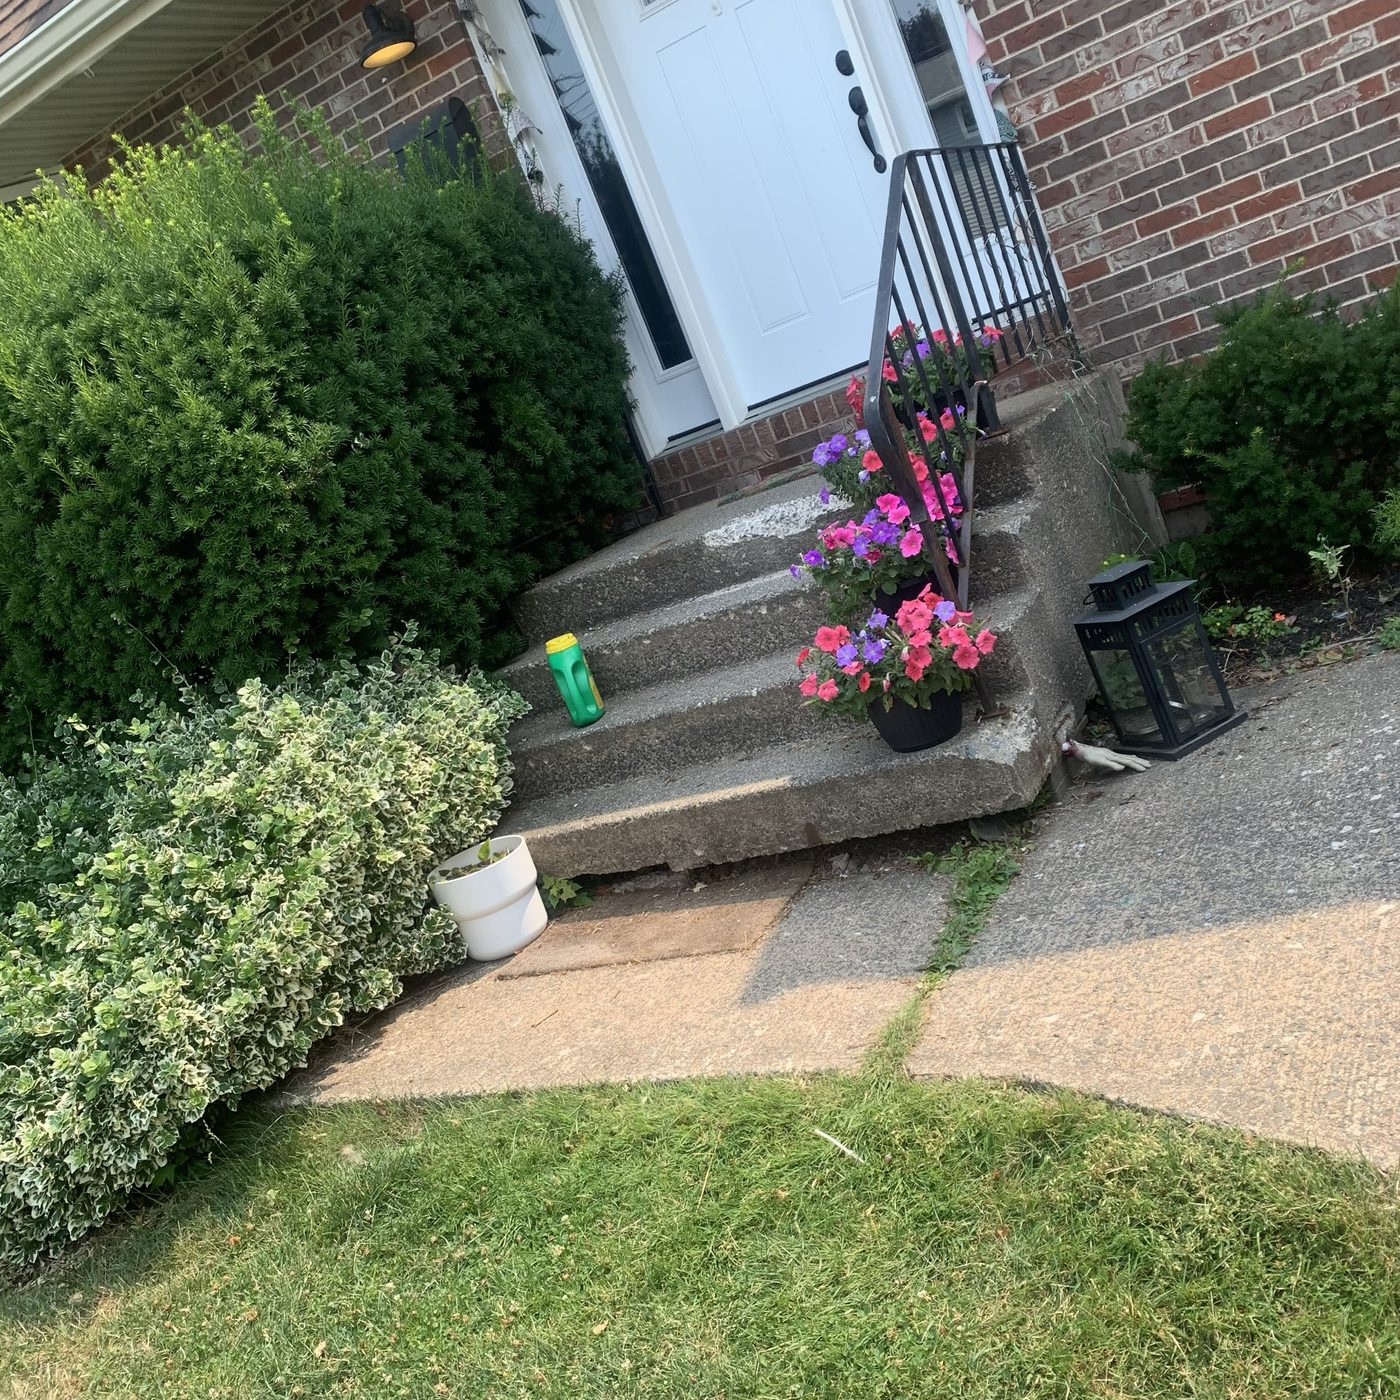
Settled, cracked concrete steps with a metal rail.
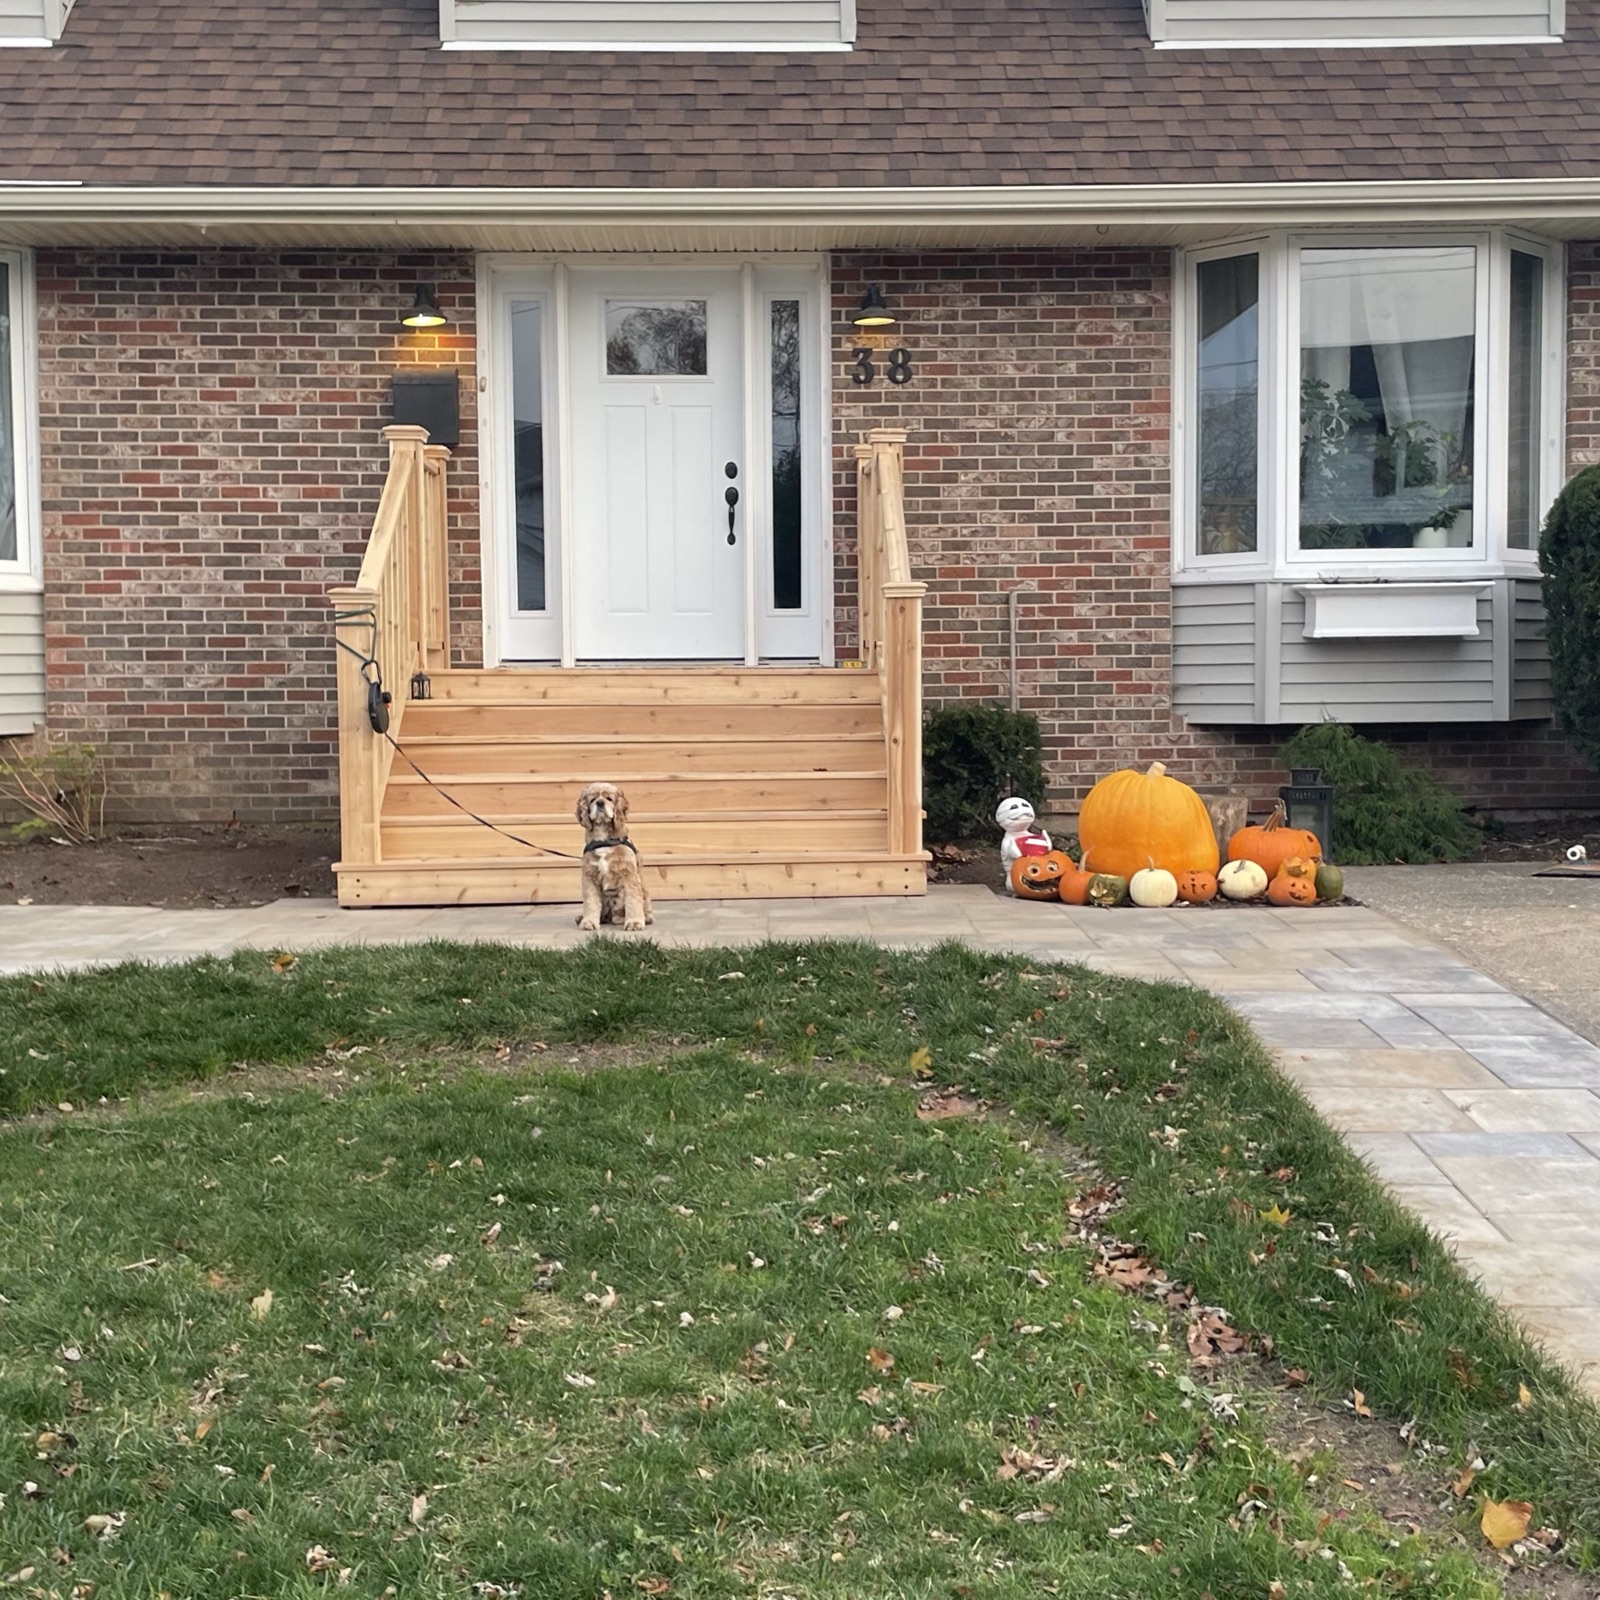
Cedar steps, landing, and railings, done.
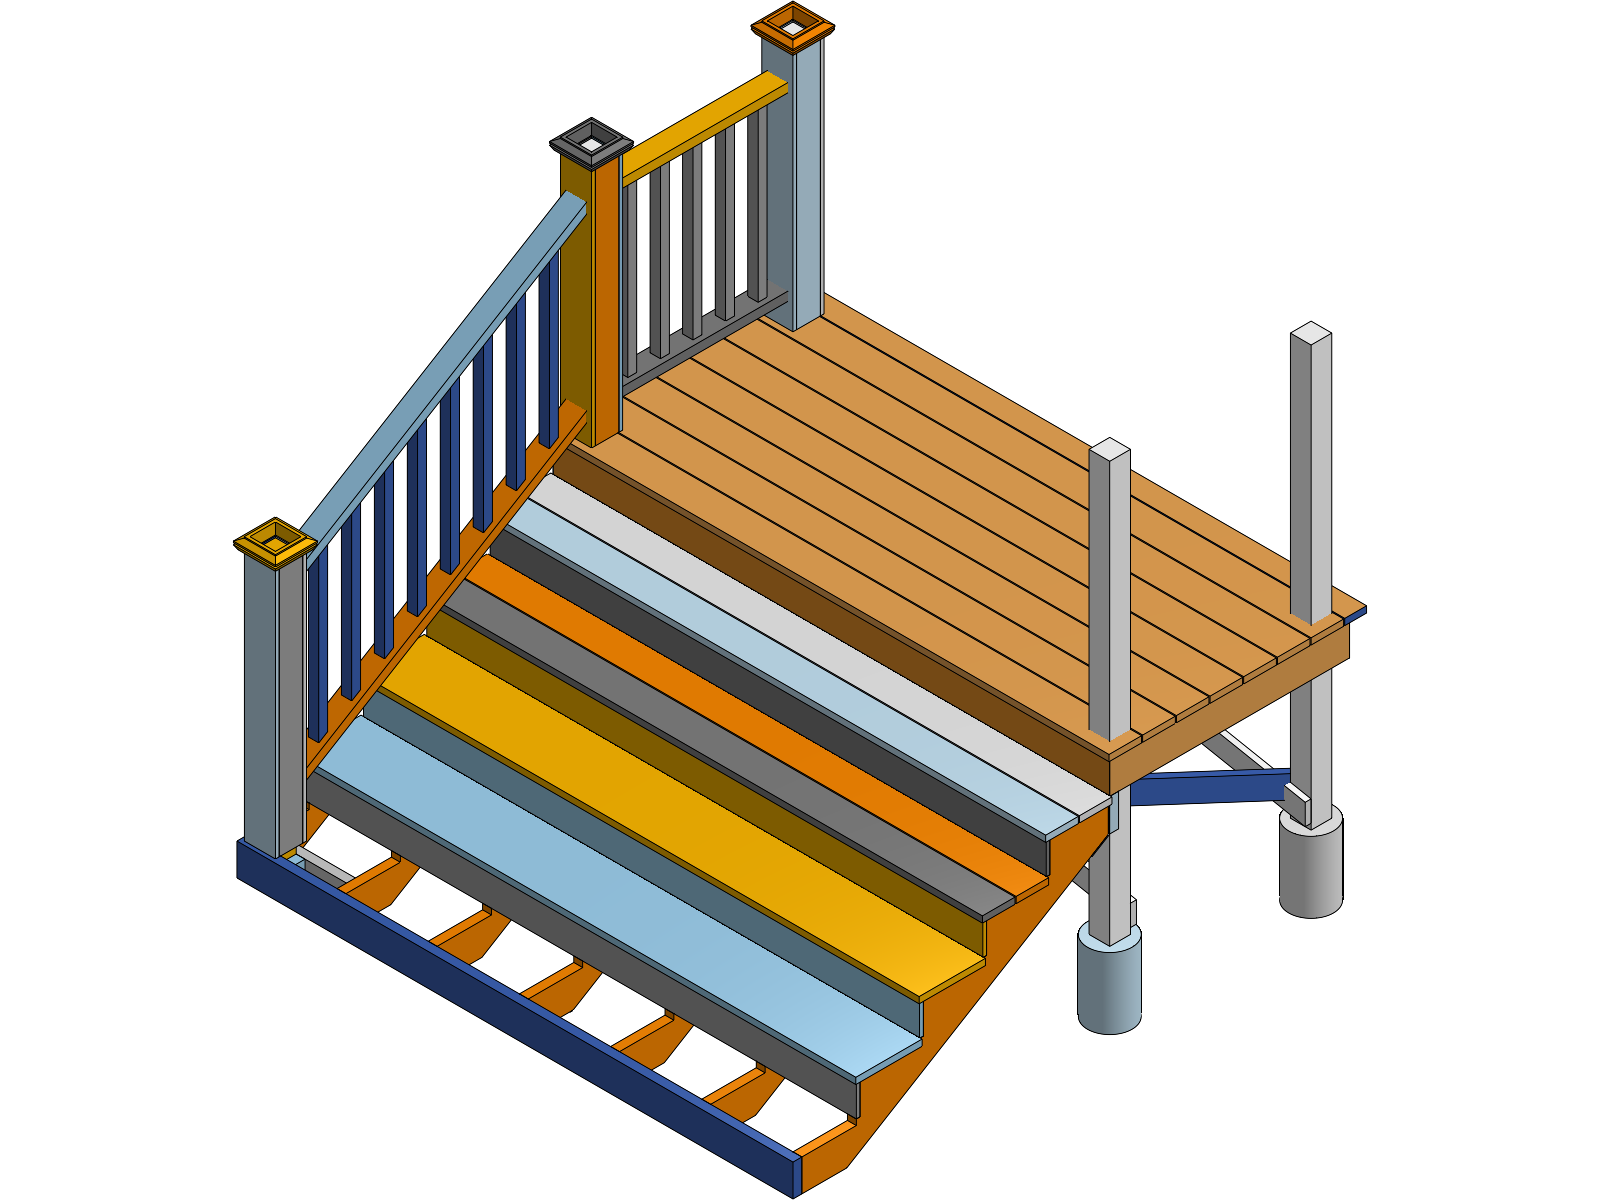
Landing, stringers, posts on piers, and rails modeled part by part in Onshape — with a bill of materials pulled straight from the model.
Open the 3D modelTwelve steps of the design, in order — every option and problem worked out on screen before any wood was cut. Tap a drawing to see it full size.
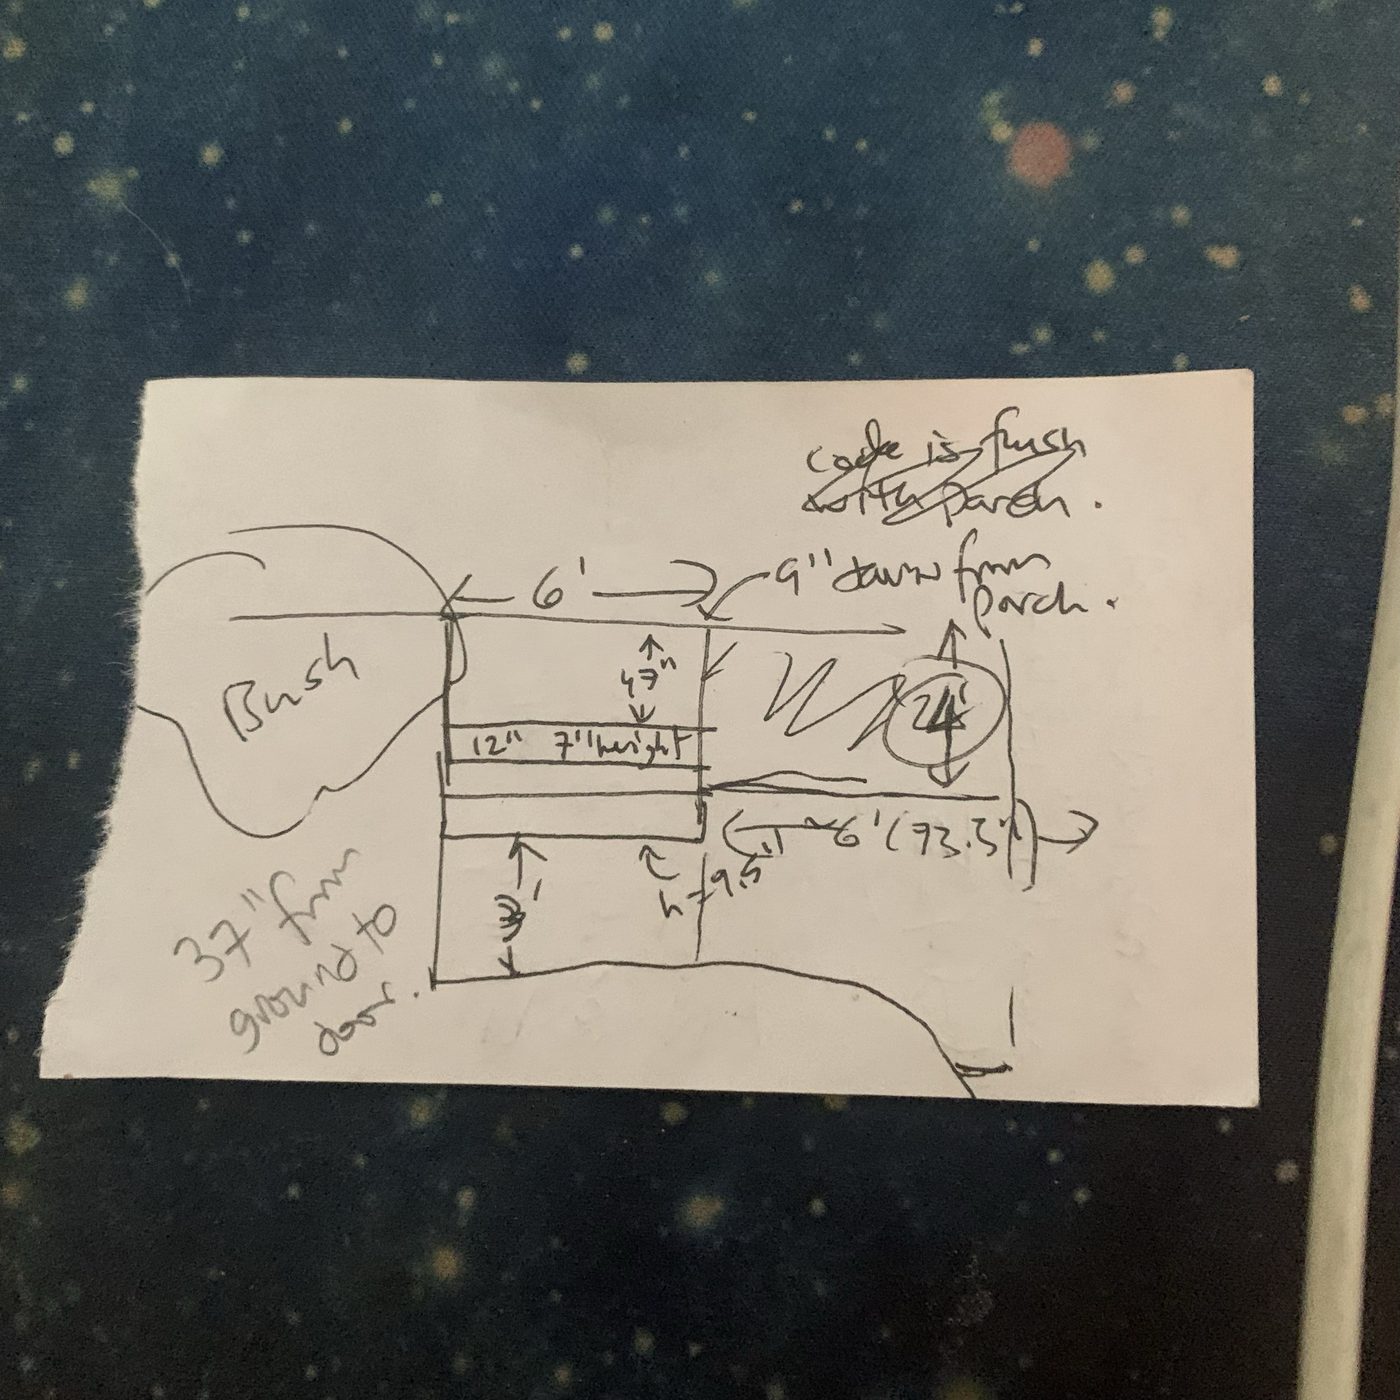
Tape-measured on site and sketched by hand — the starting point for the model.
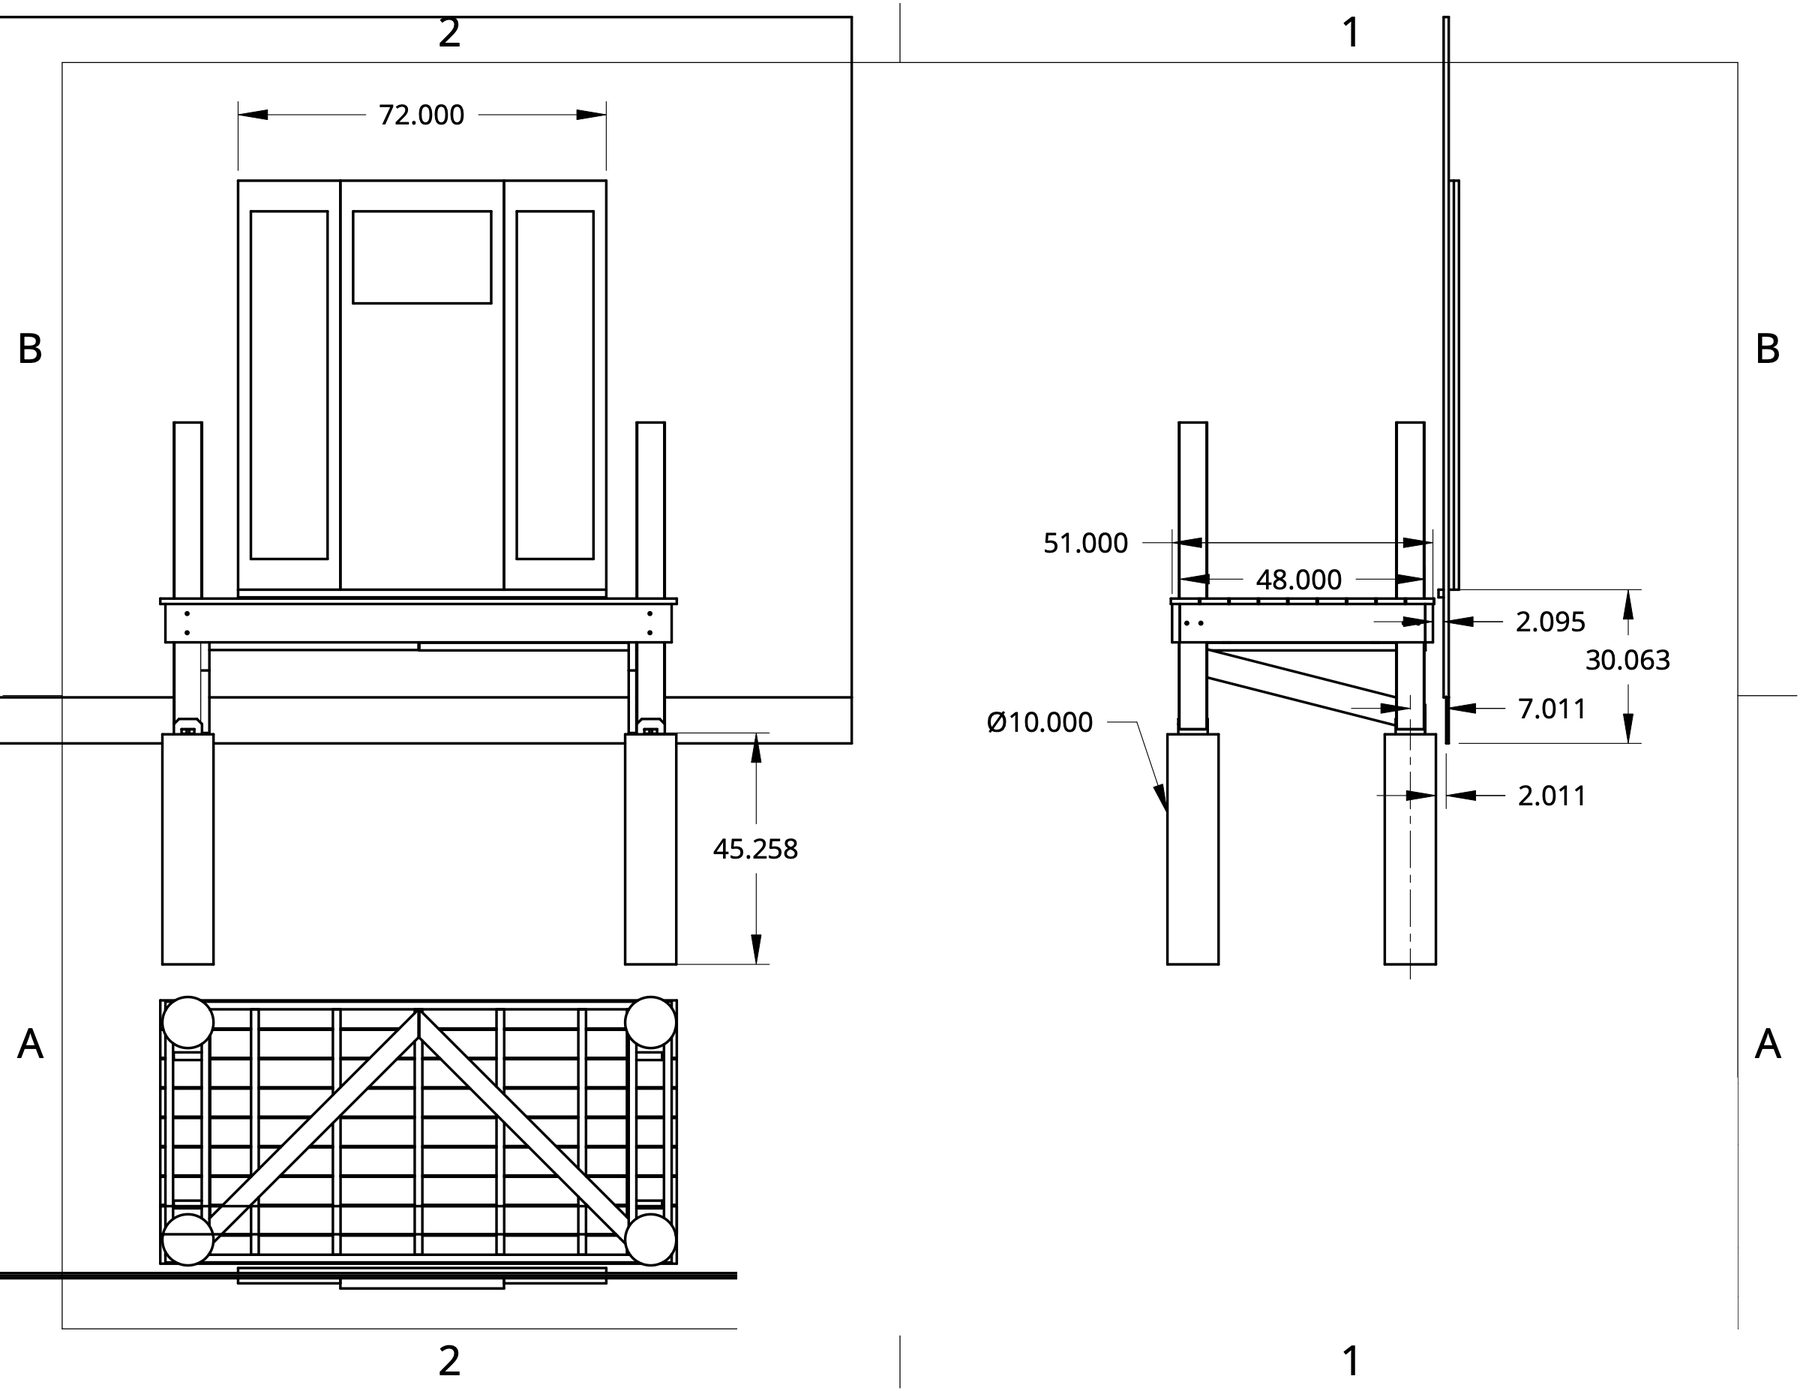
Landing size, height to the door sill, and pier locations set from the site measurements.
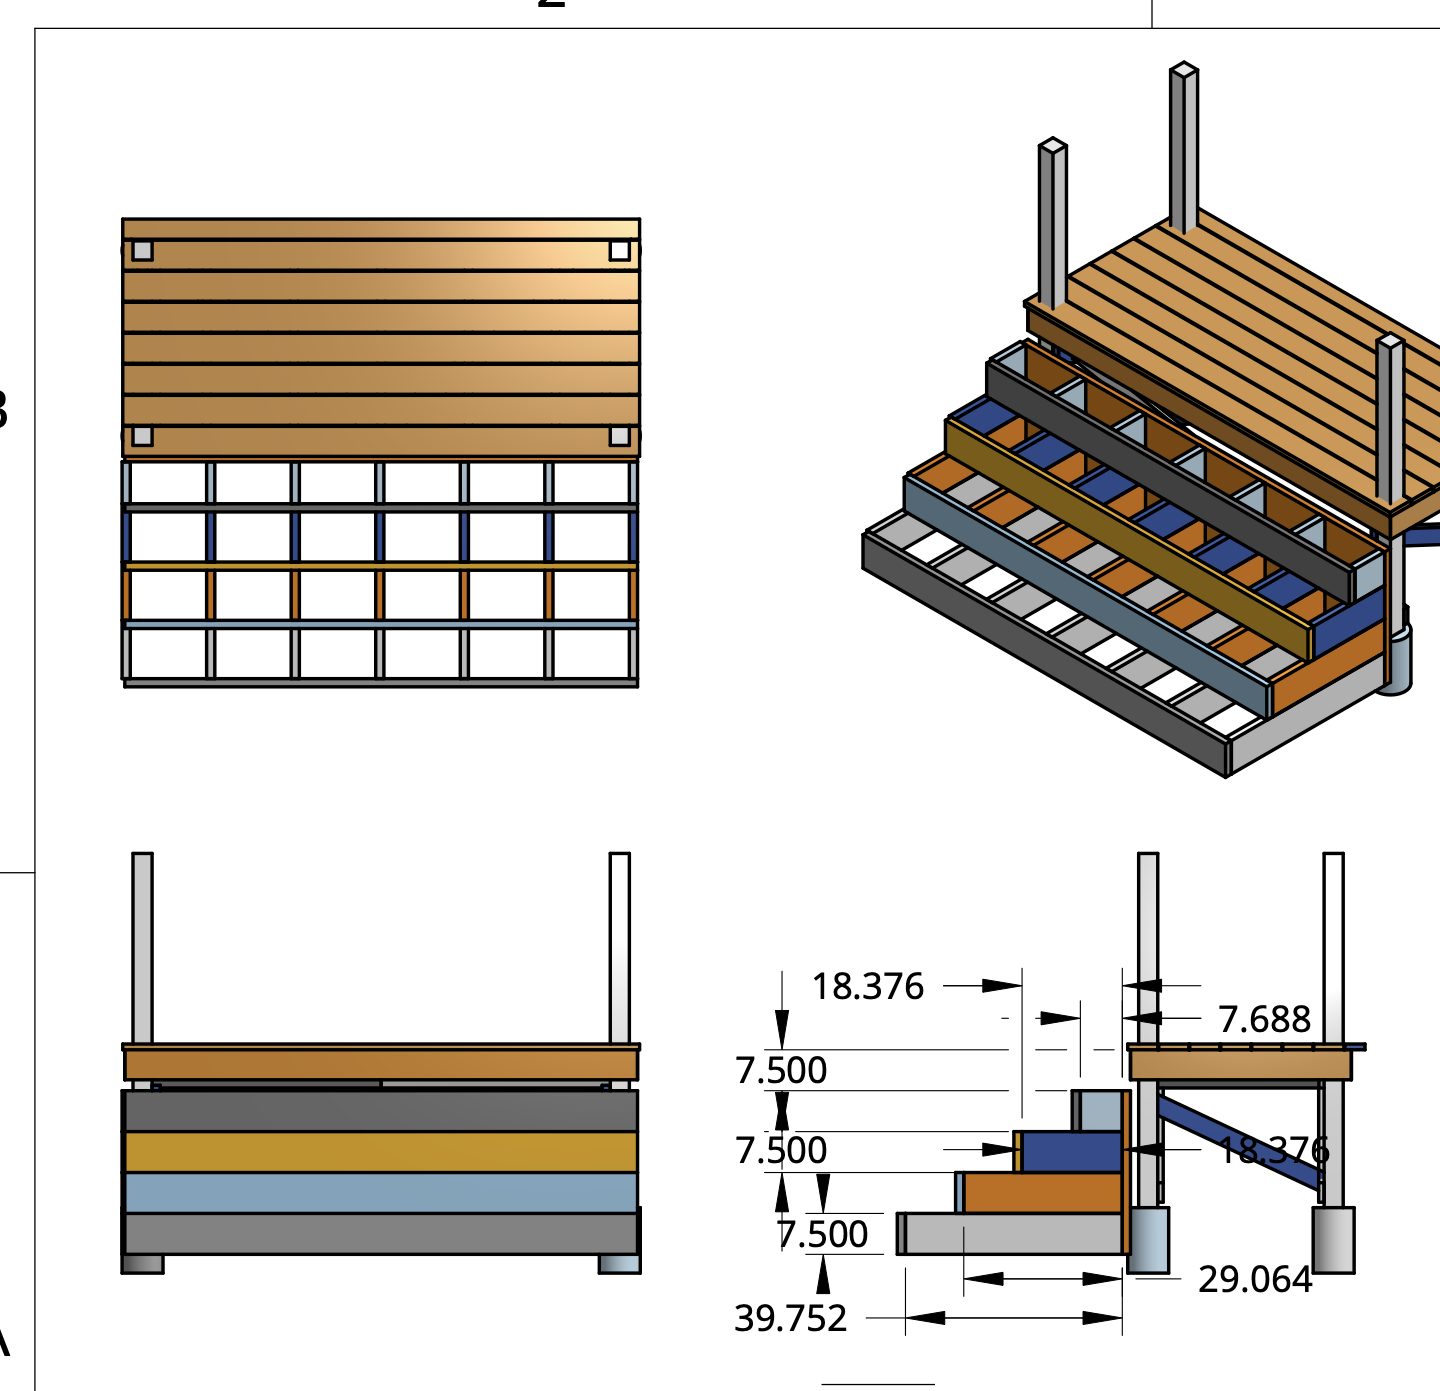
Solid framed blocks under each step — rock solid and low-risk to build, but about three times the material.
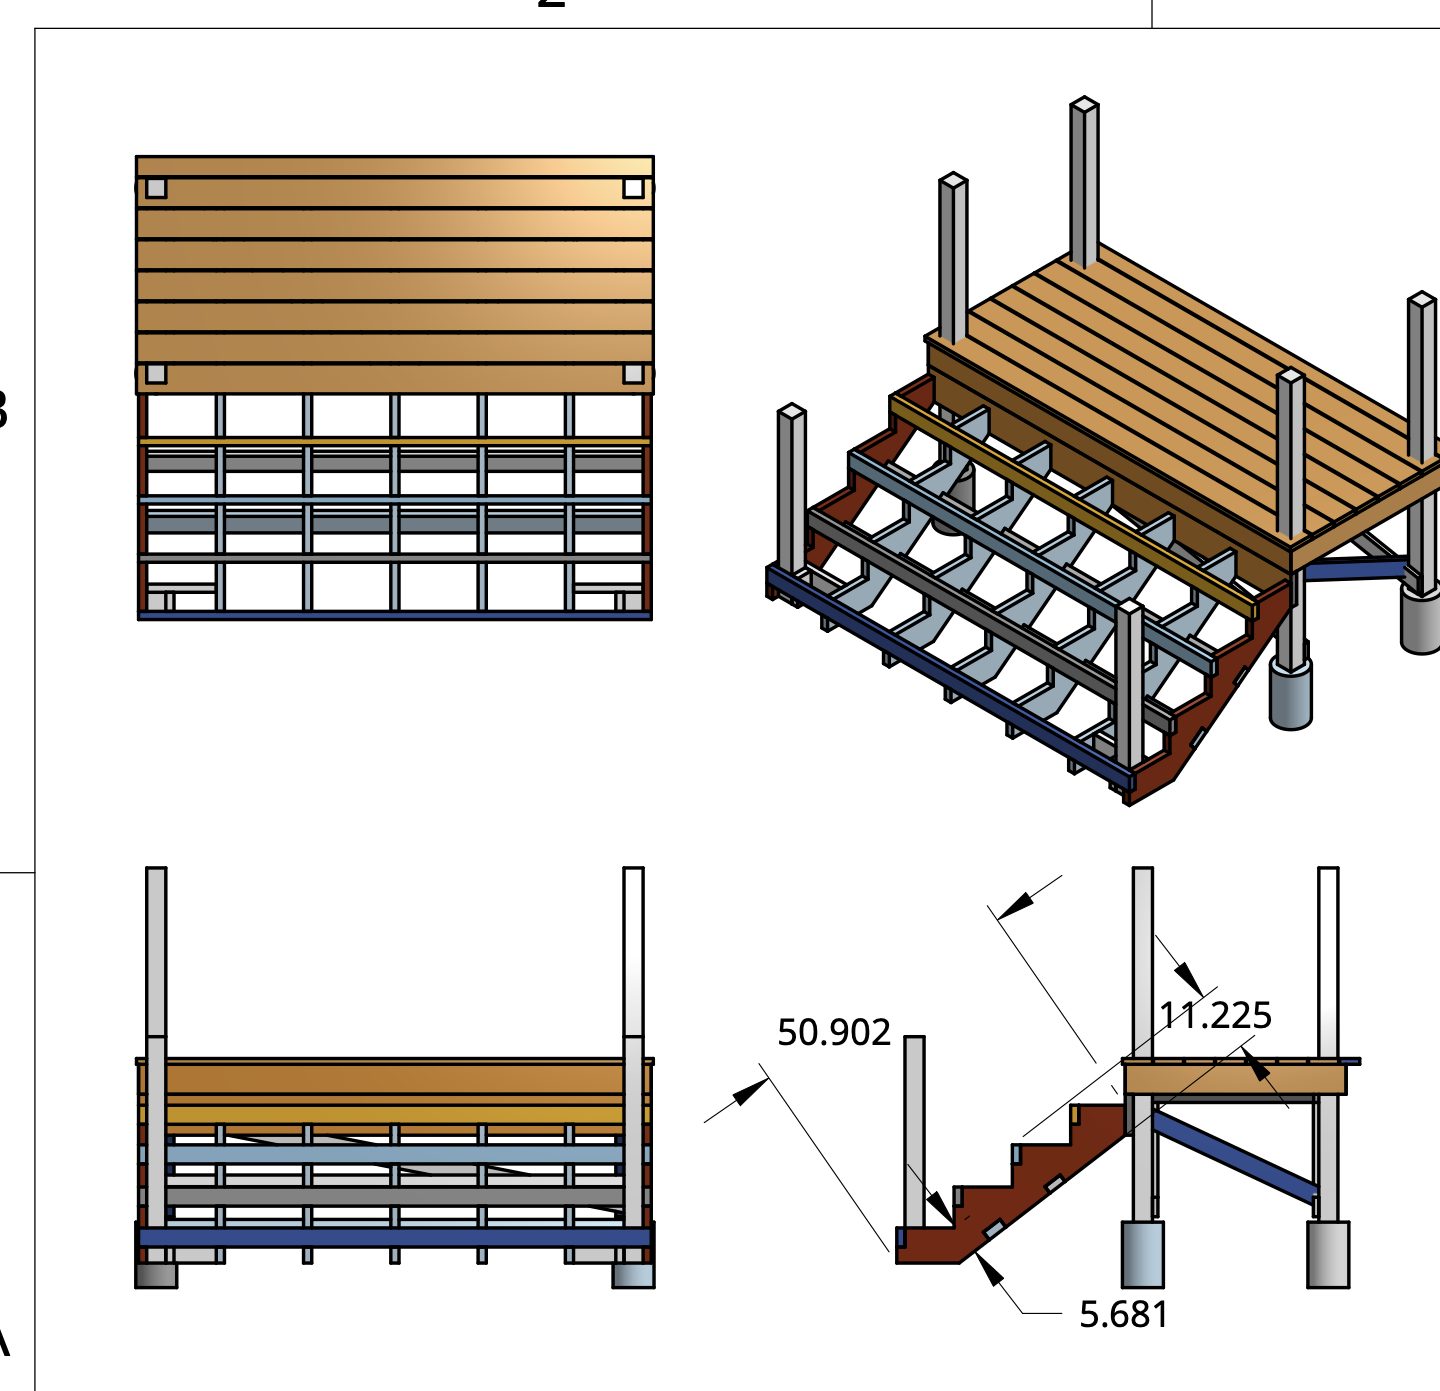
Cut stringers carry the treads — far less lumber, but a trickier build. This is the one that got built.
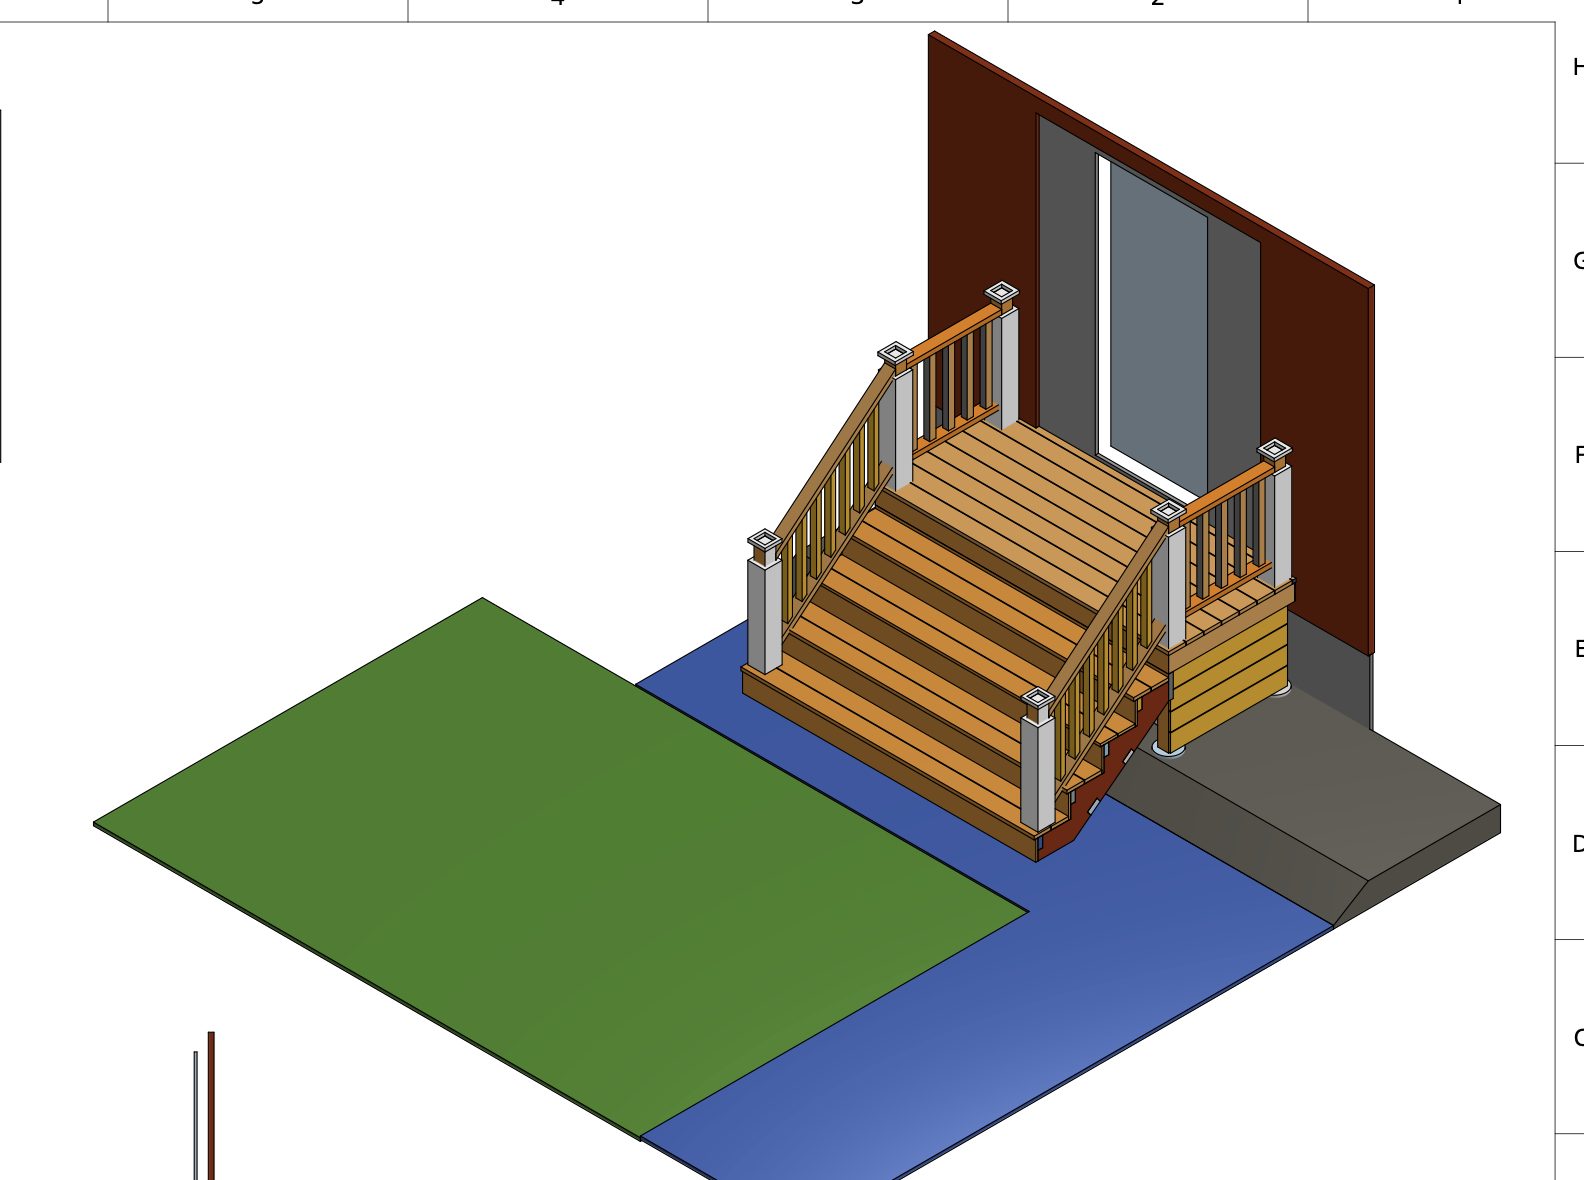
The porch modeled against the house, lawn, and walkway so the client could see it in place.
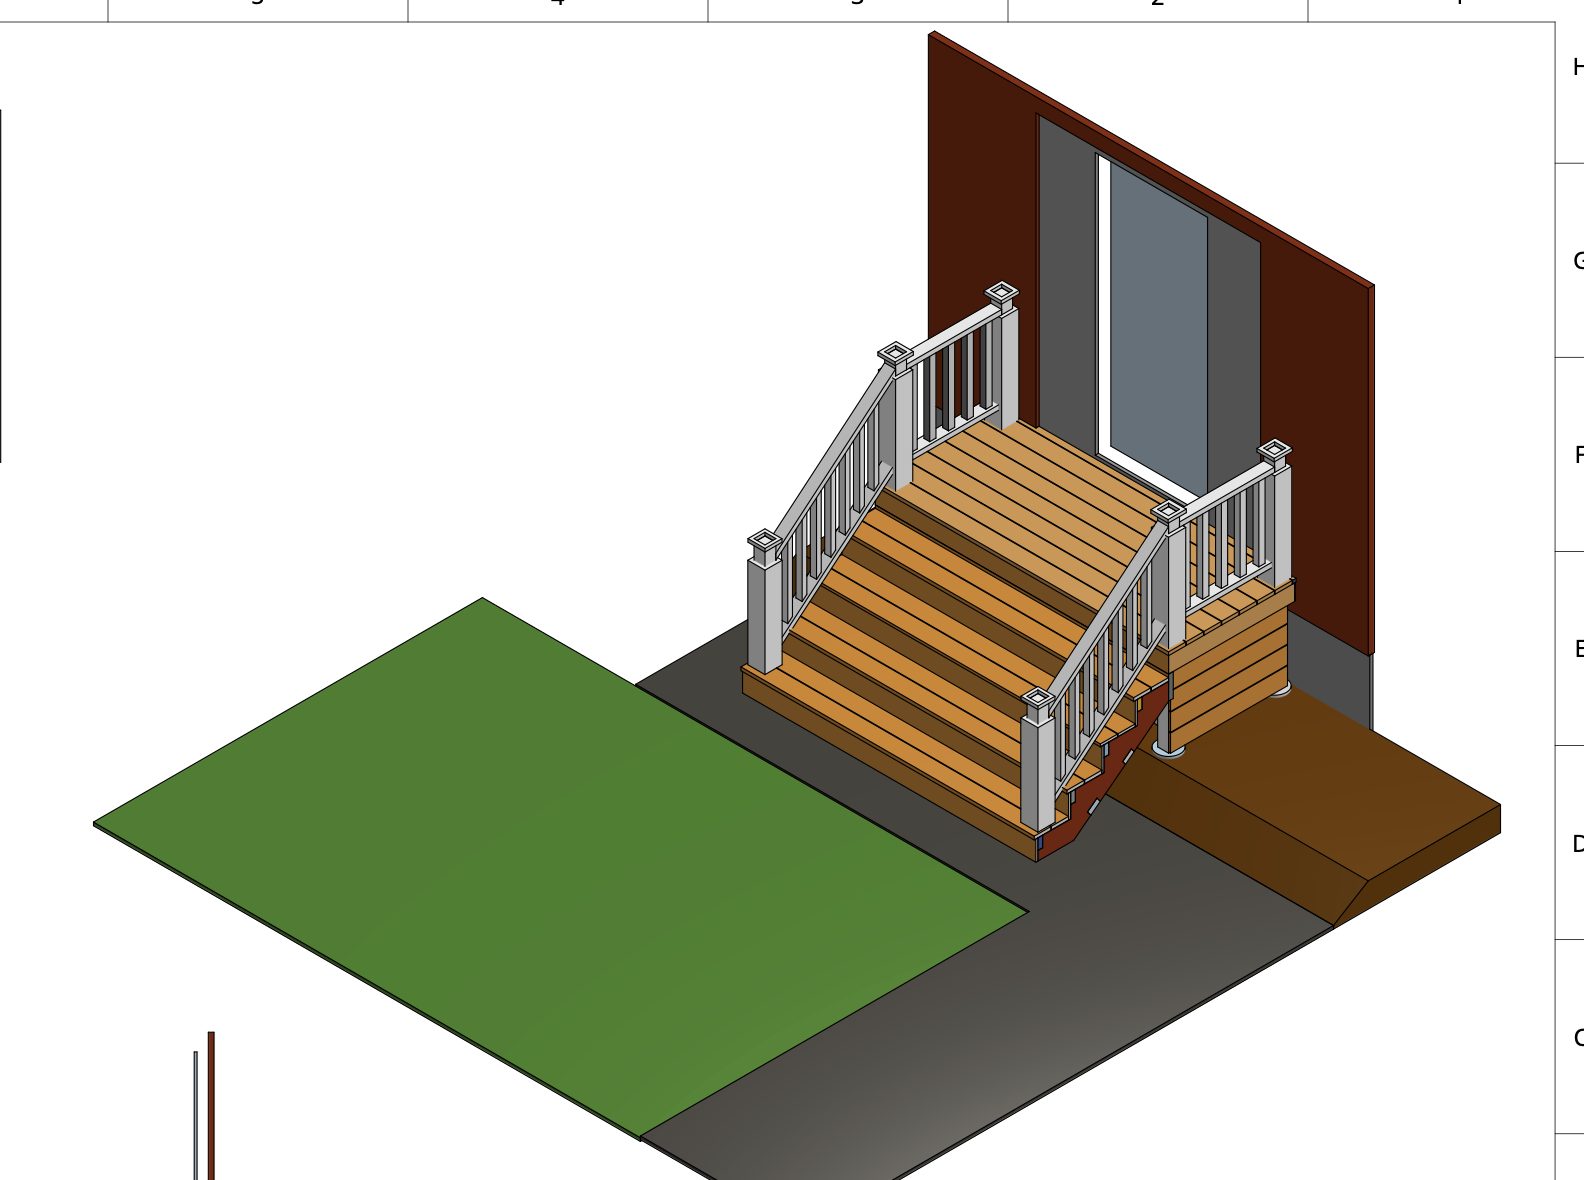
Same porch with painted white rails, to compare finishes before buying anything.
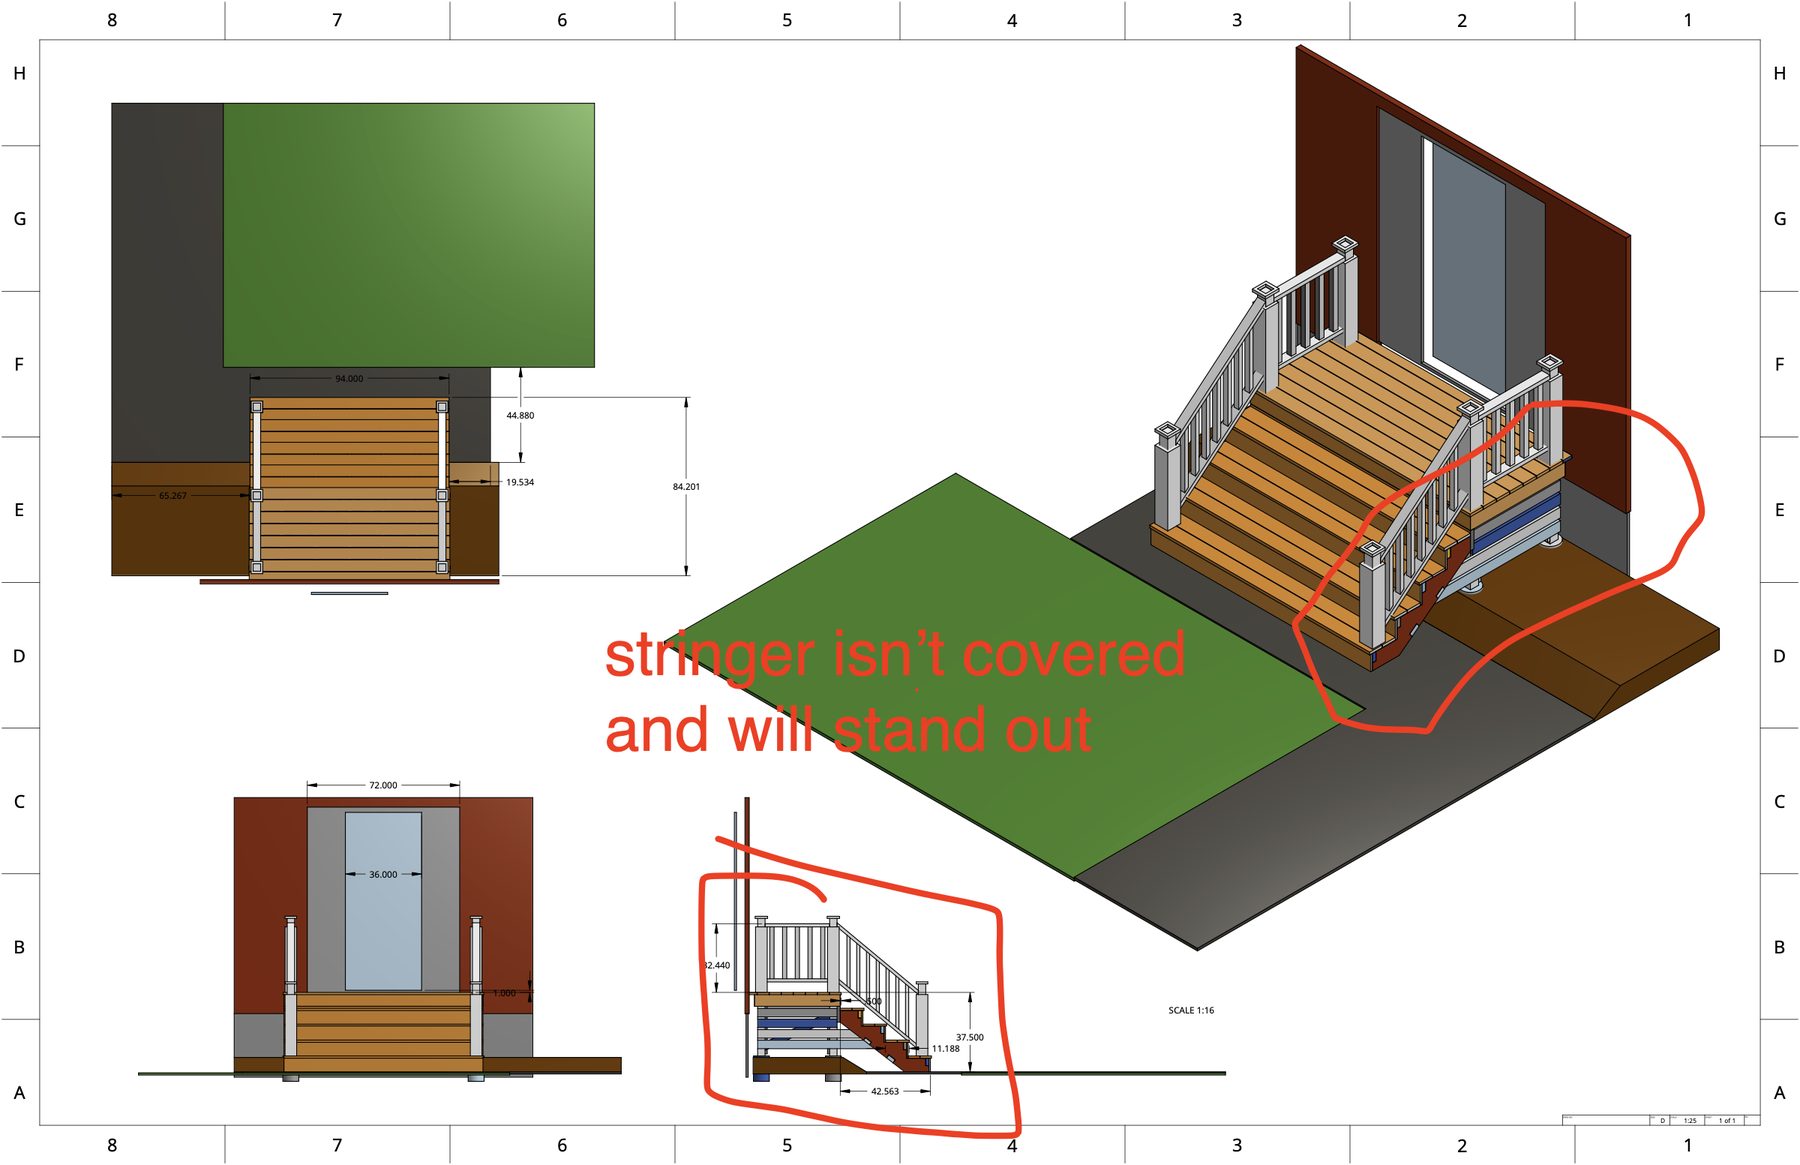
Red-pen review: the stringer wasn't covered and would stand out. Fixed in the model, not on site.
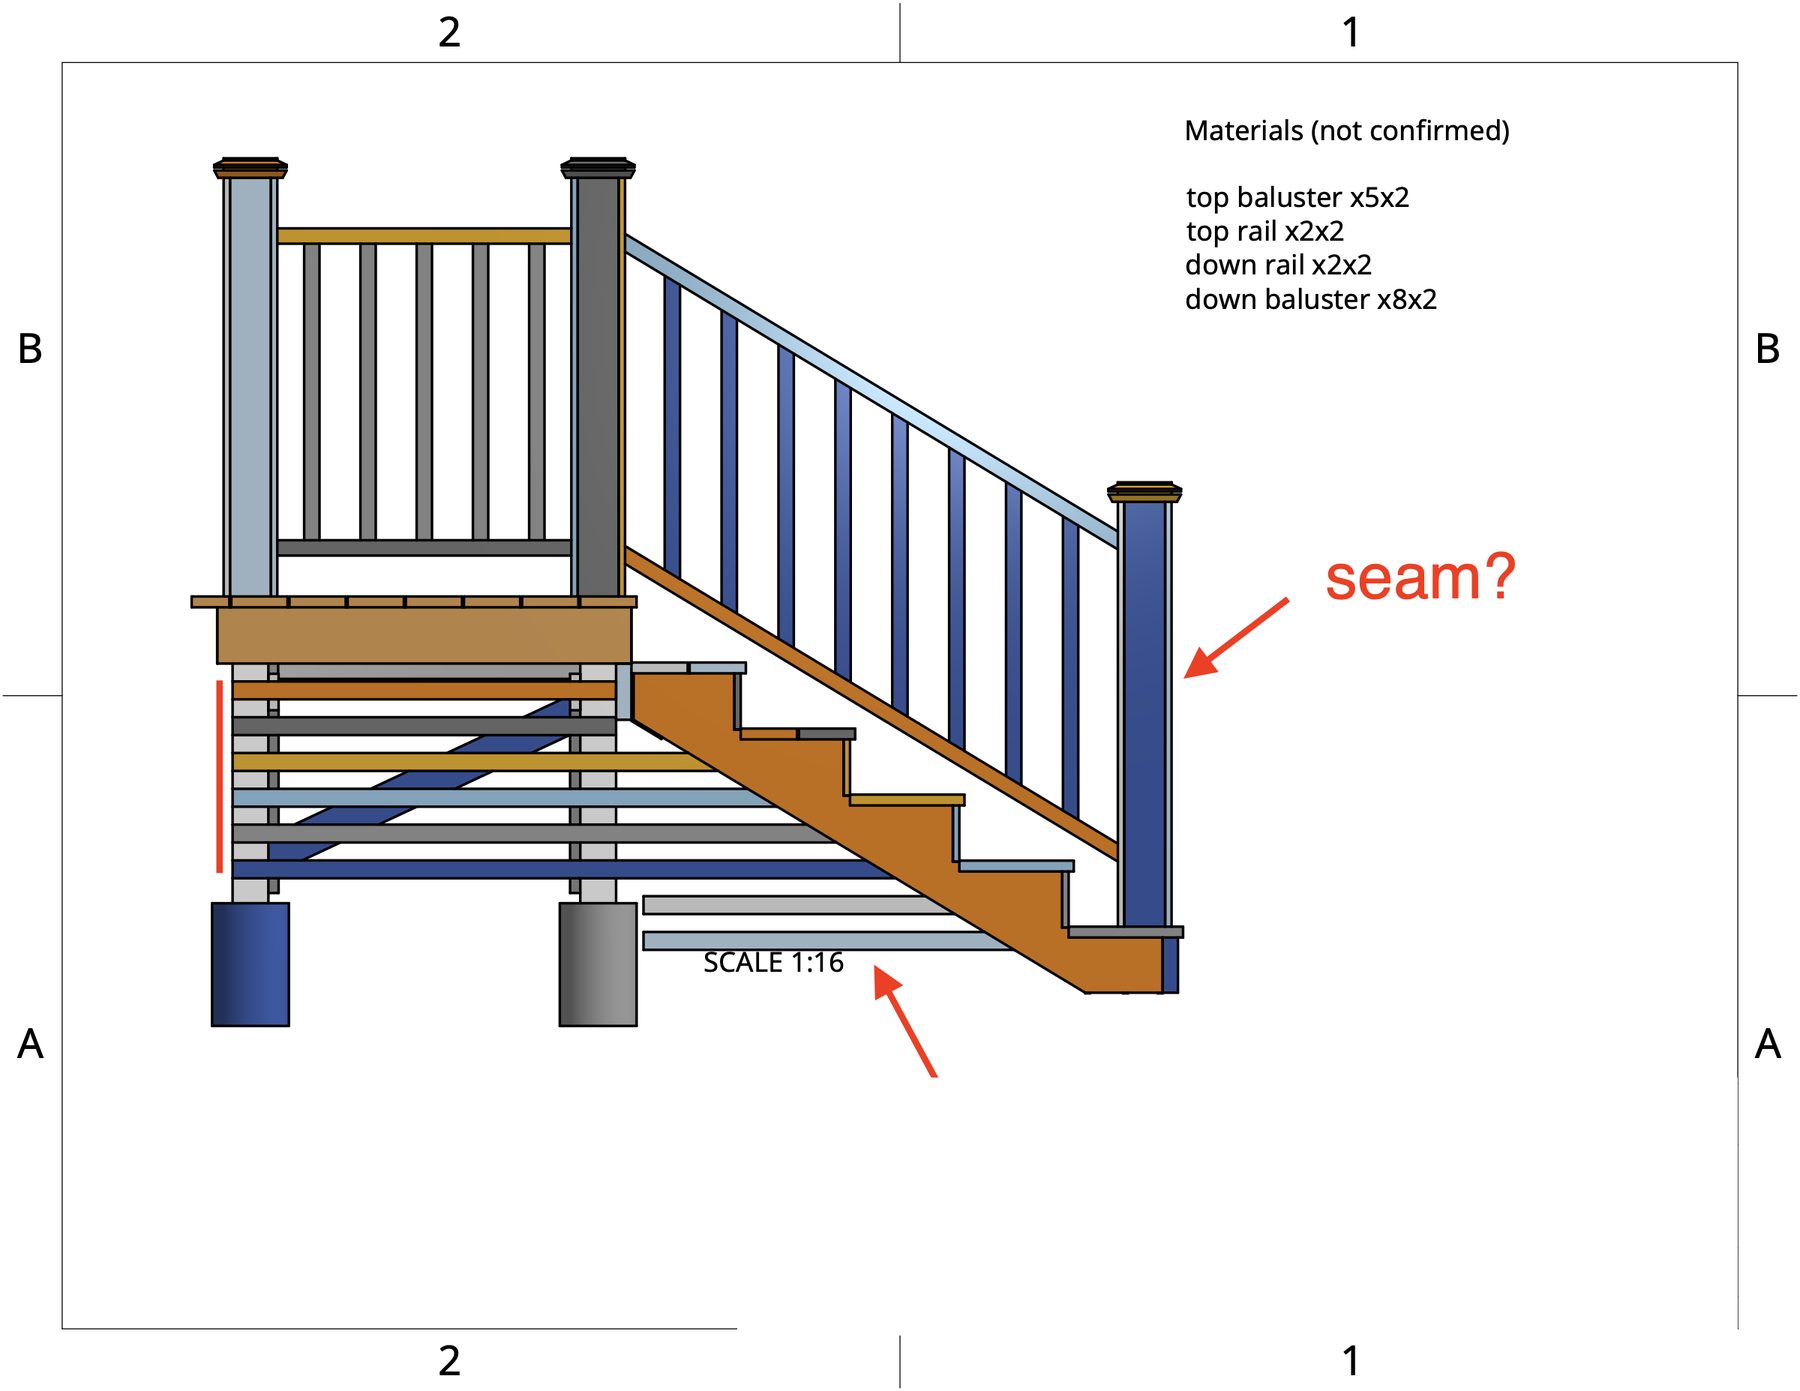
Working out where the rail seam lands and how the bottom of the stairs is supported.
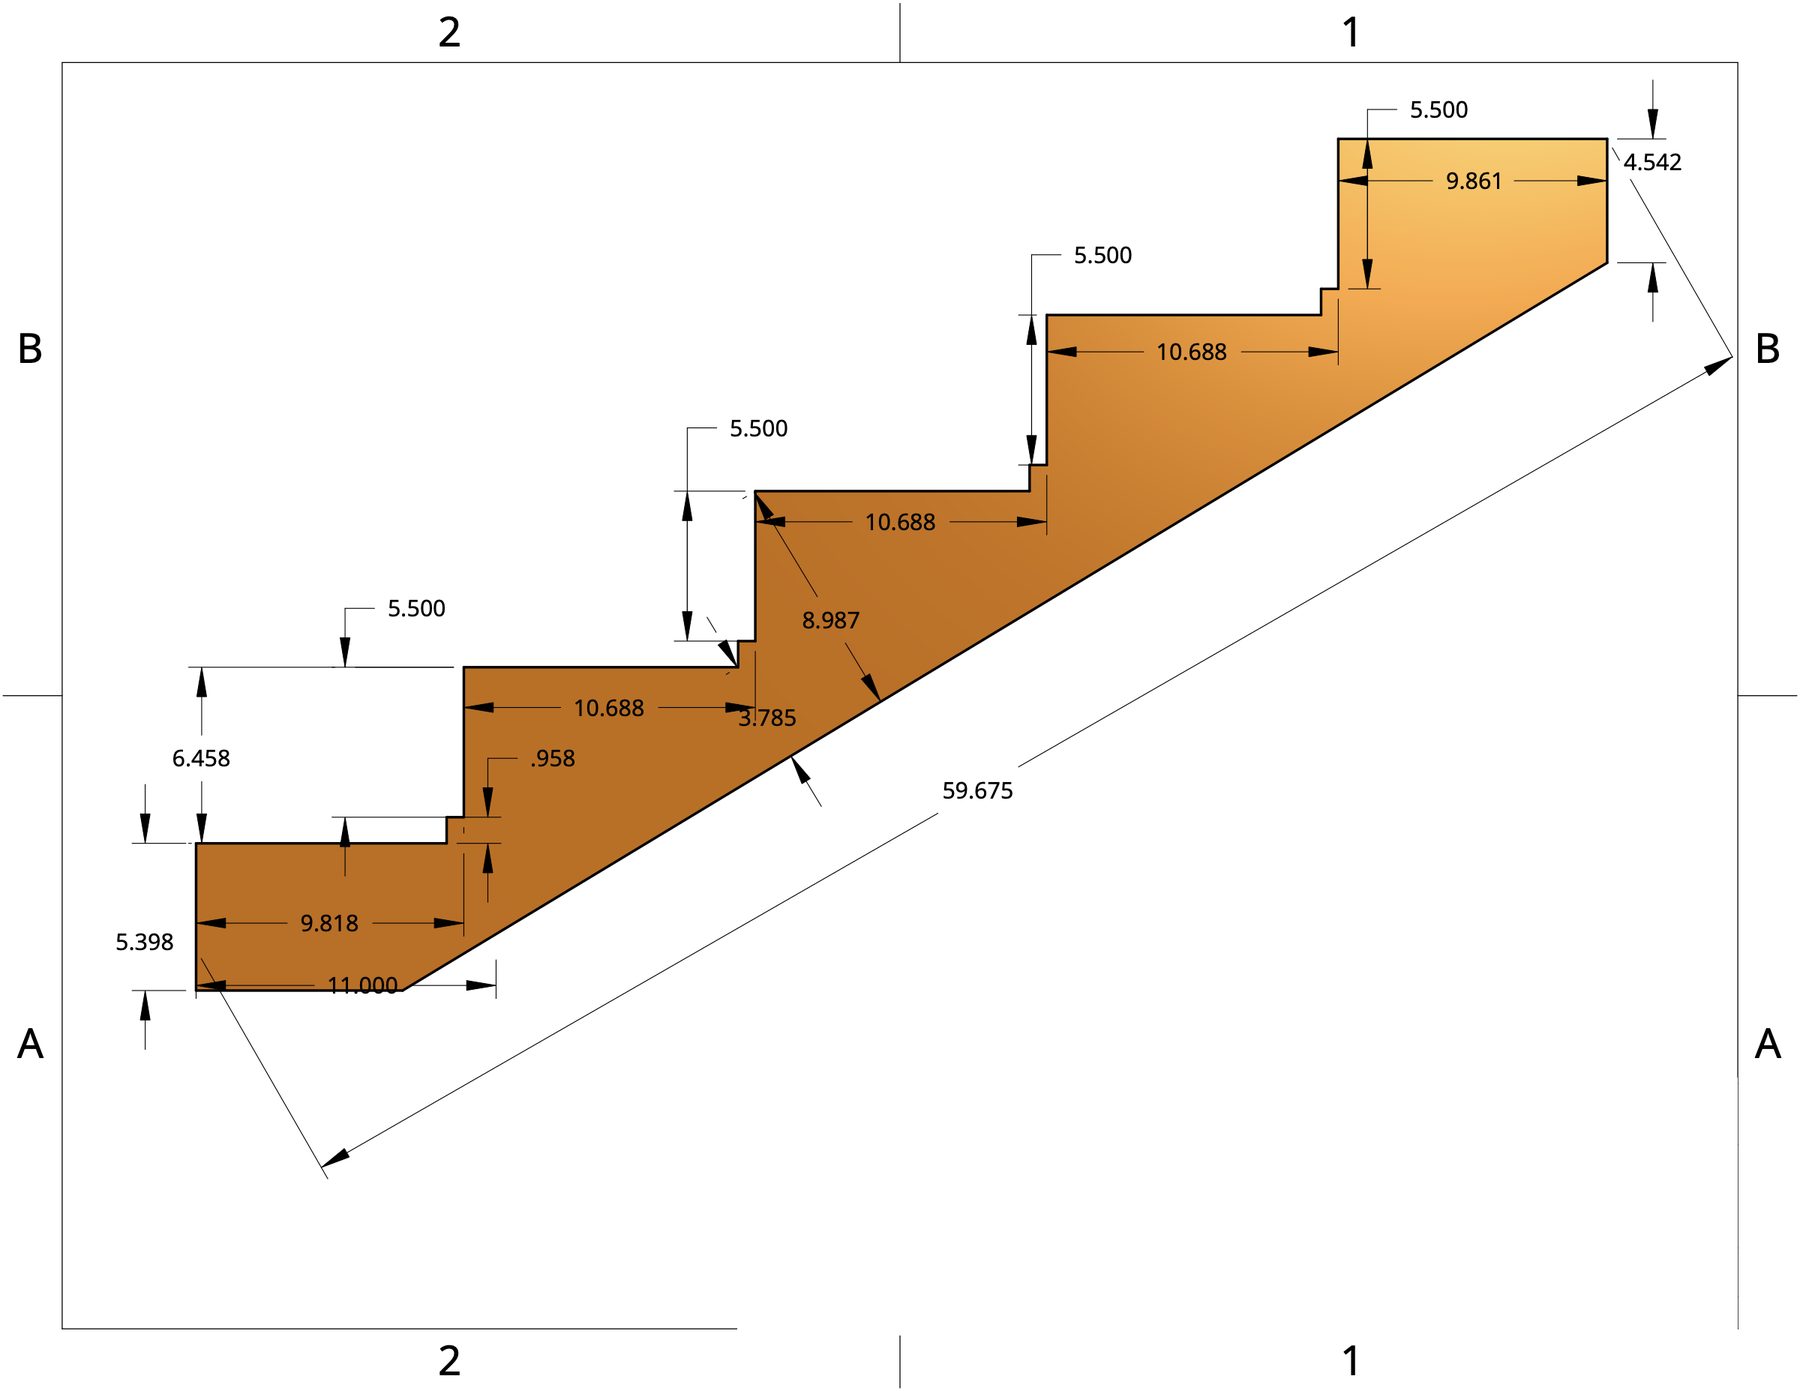
Rise, run, and cut dimensions for each stringer — taken straight to the saw.
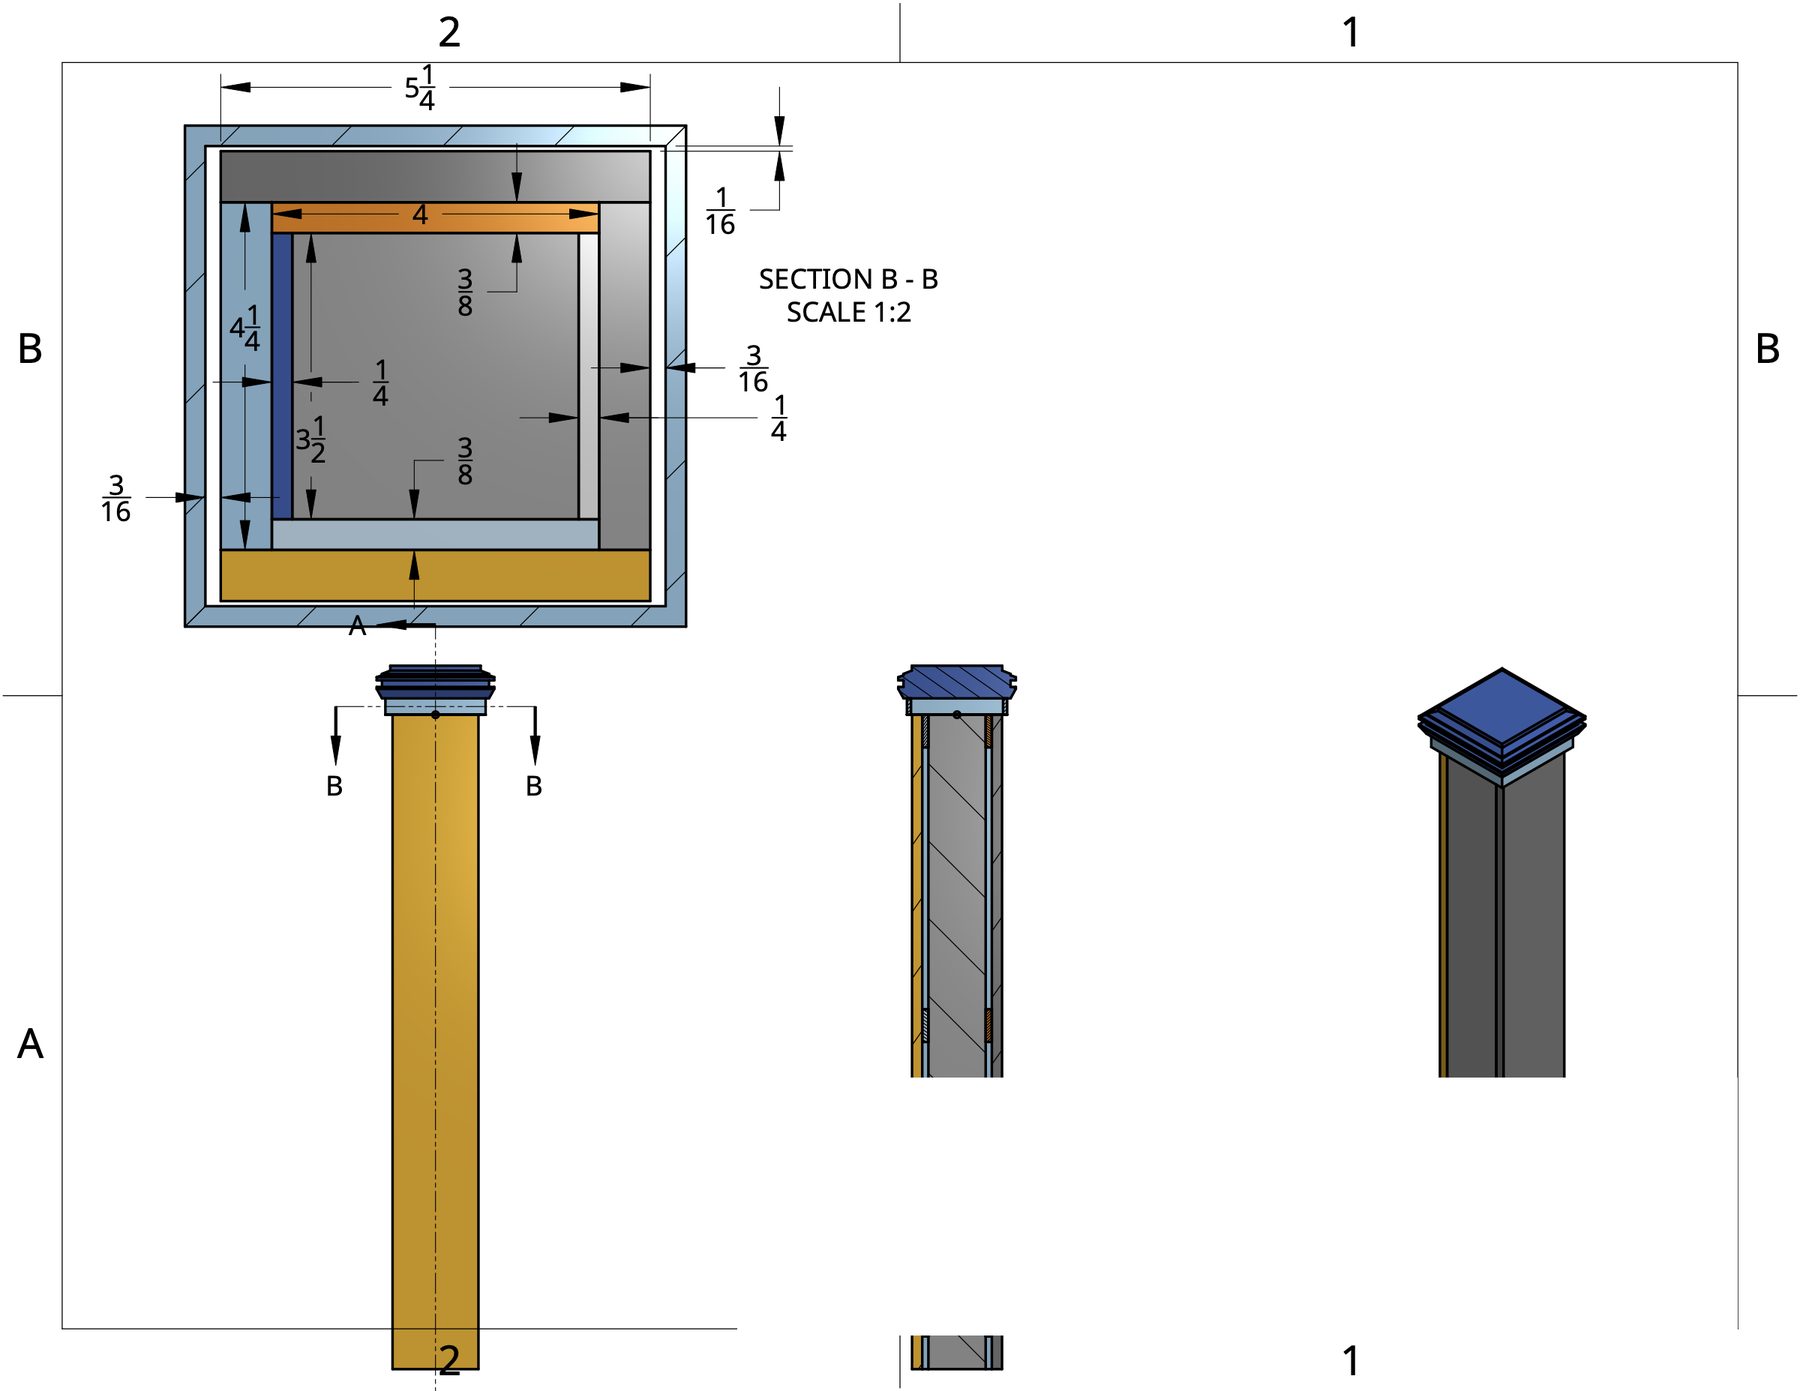
Section through the post wrap and cap, worked out to the sixteenth before cutting cedar.
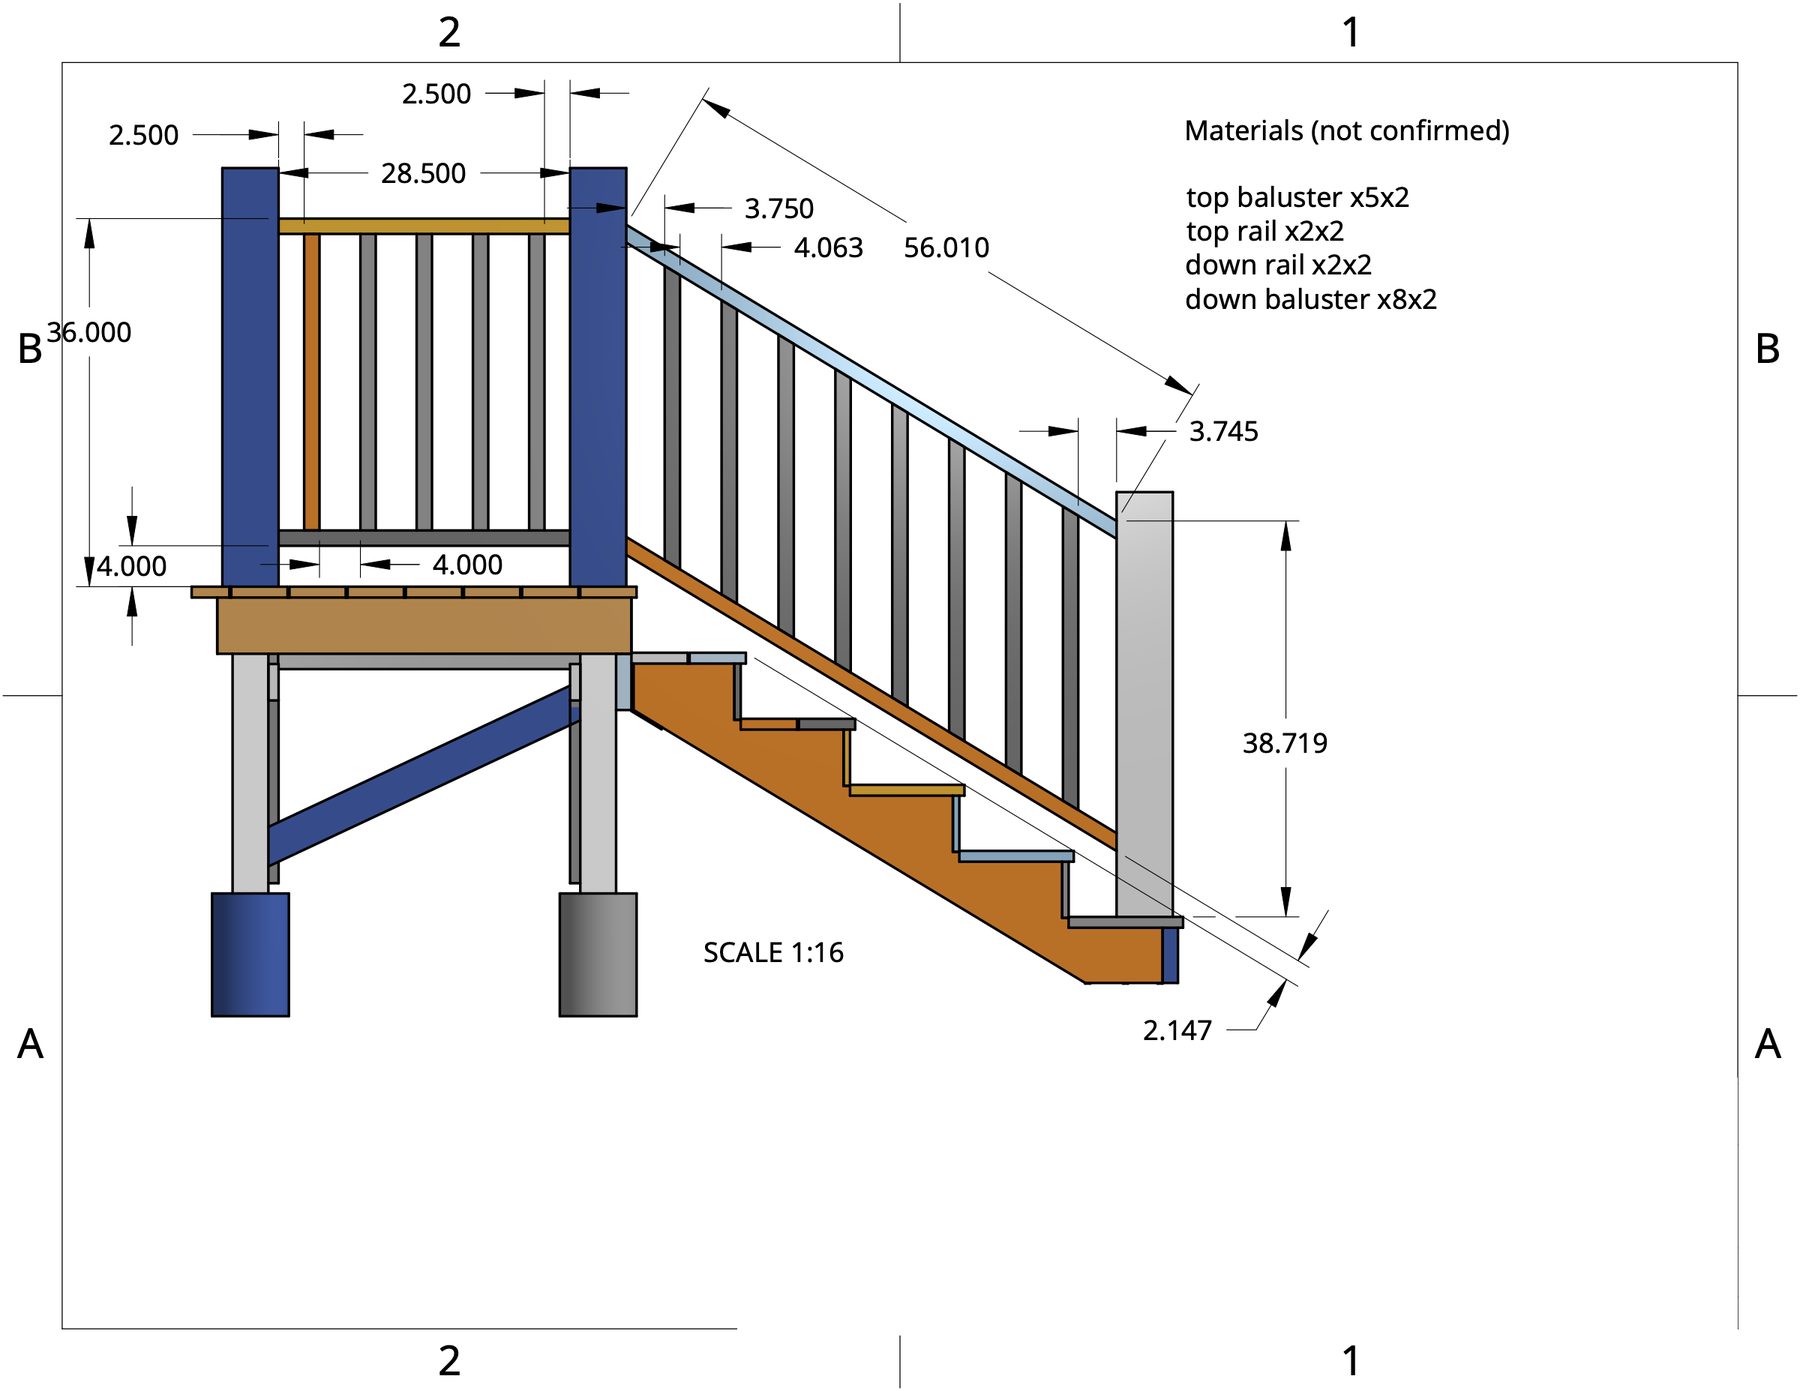
Rail heights, baluster spacing, and the material list for the guard and stair rails.
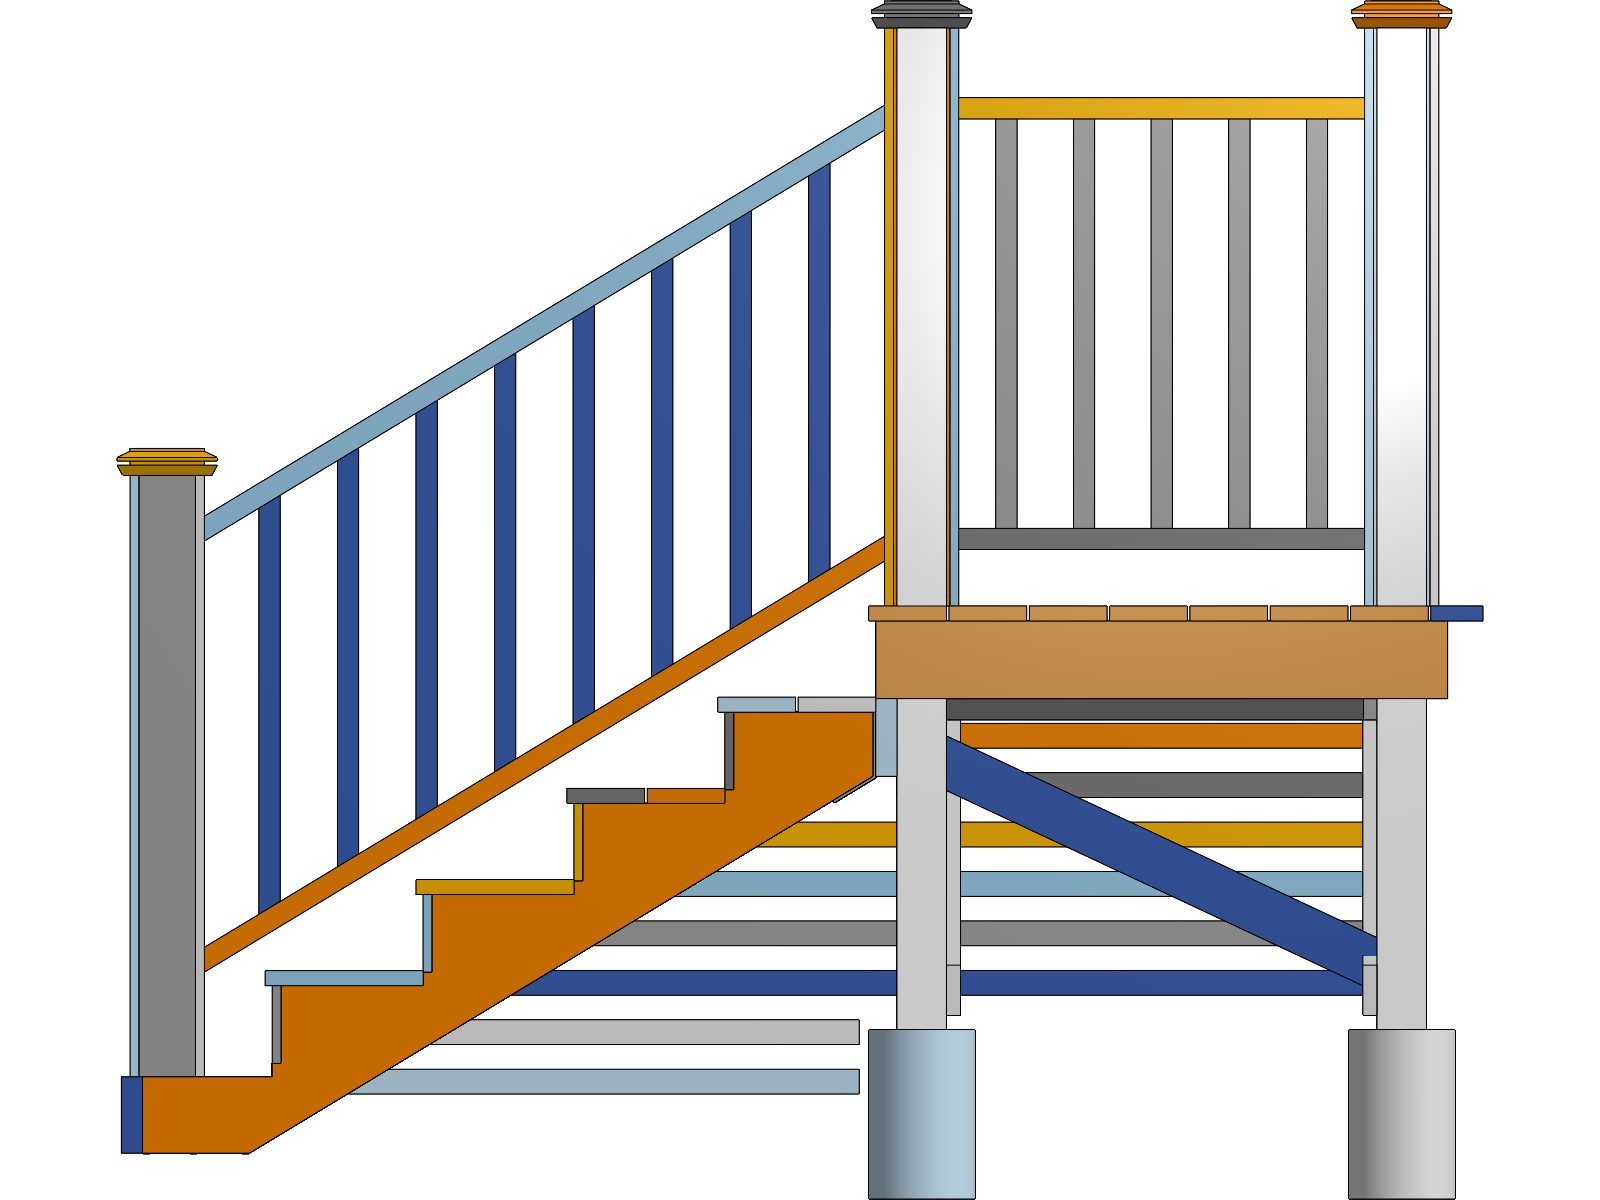
Side view of the finished design: stringer, landing frame, bracing, and posts on piers.
Start to finish
Digging post holes by hand isn't worth it. Rent the tool.
Precision to a quarter inch is plenty. Chasing tighter than that only costs time.
Site layout with 12" nails, rope tied off with a constrictor knot, and a line level. Get this right and everything after it lines up.
The model surfaces construction challenges before you hit them on site.
Always worth investing in drawings.
Worth every penny for setting heights and keeping everything level across the build.
In the end, building the 7-step stringers was the most challenging part of the job.