9 Wheatstone

Stone patio

A stone patio, laid start to finish.


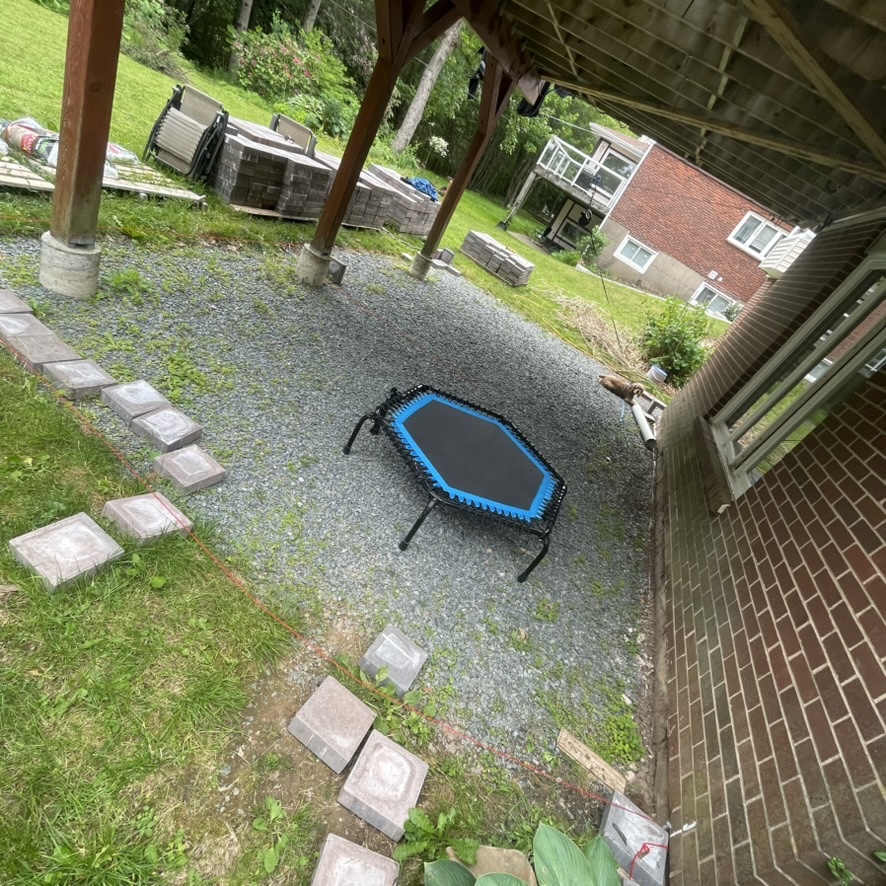
Gravel pad under the deck at 9 Wheatstone before the patio, with pavers stacked on pallets
Before

Where it started

A gravel pad under the deck, with the pavers stacked and waiting.
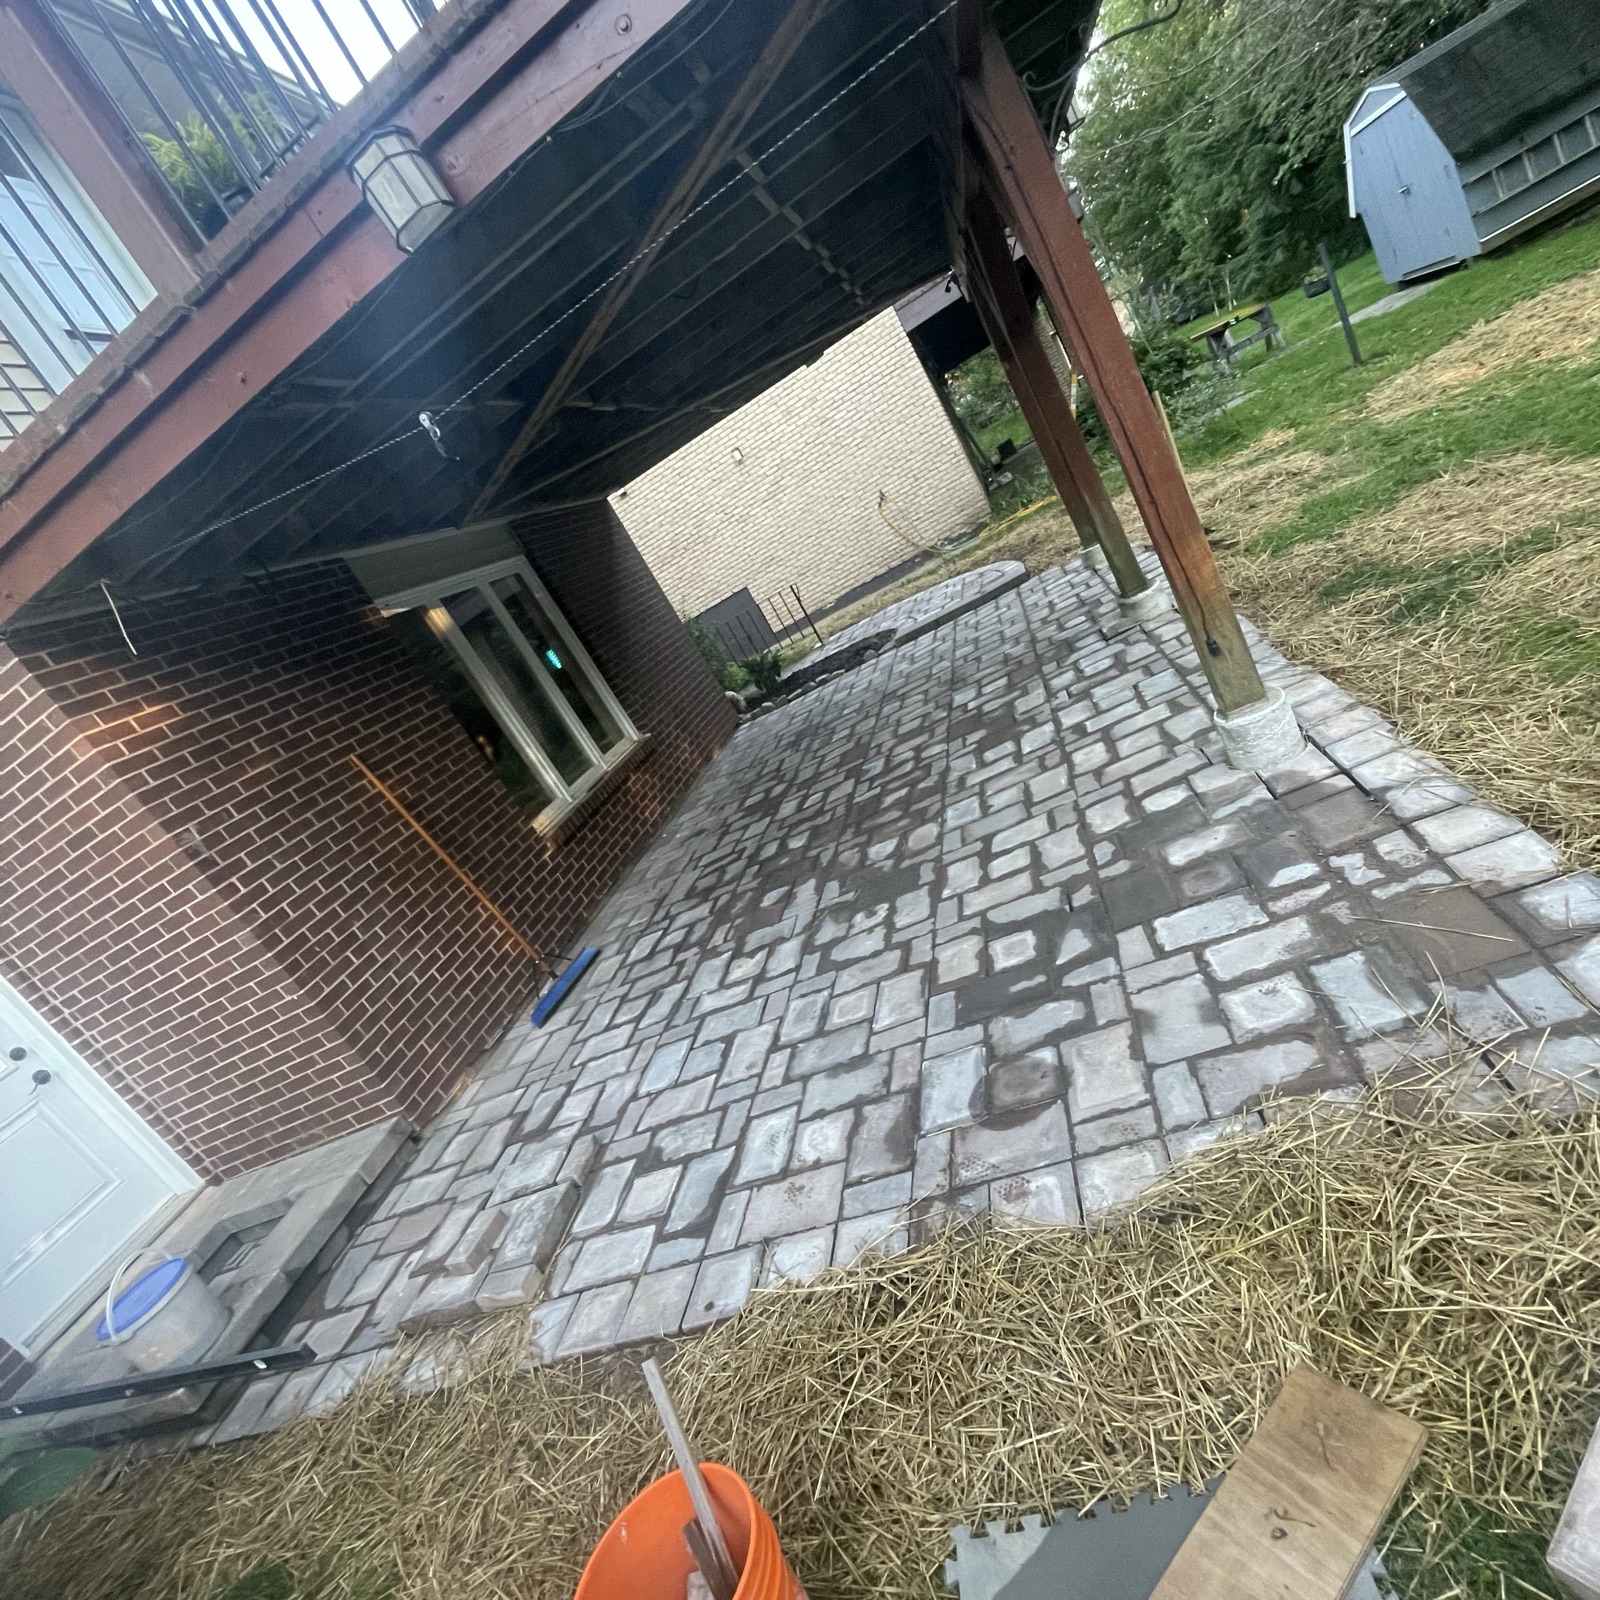
Finished stone patio at 9 Wheatstone
Finished

The result

Pavers laid under the deck and around the posts.
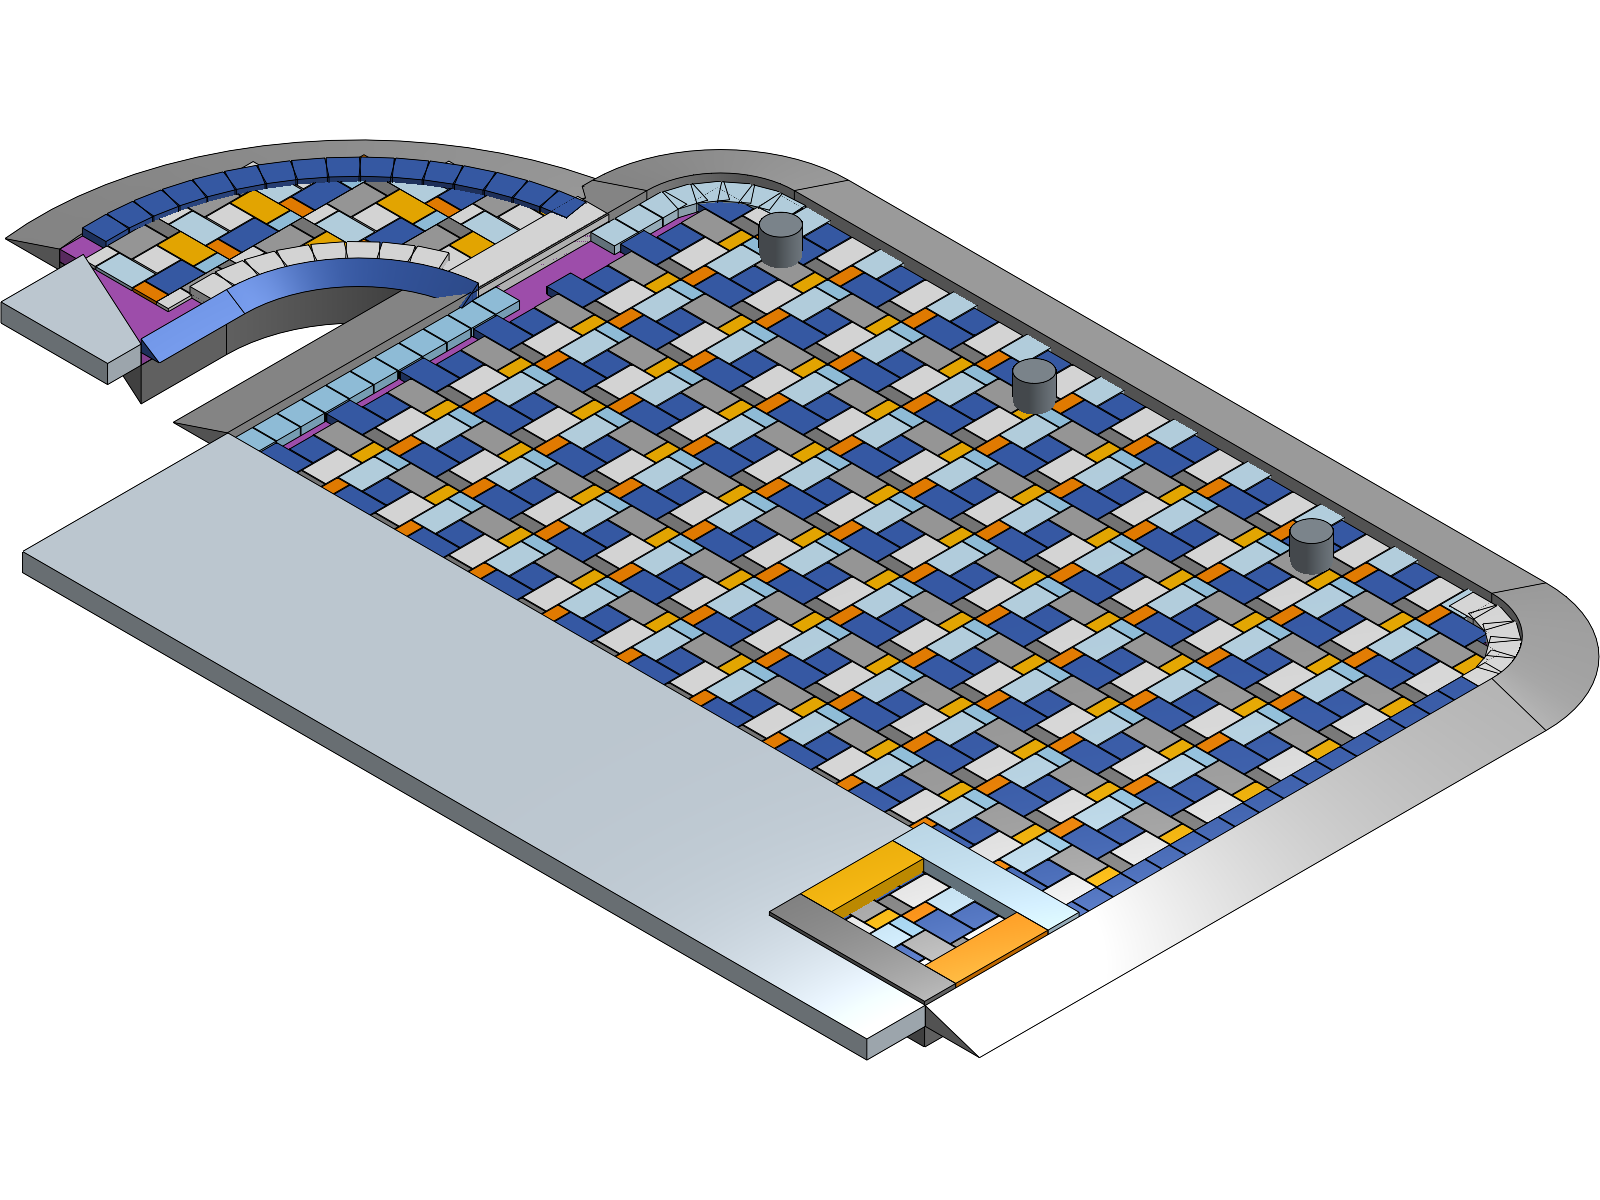
CAD model of the stone patio at 9 Wheatstone
Design

CAD model

Patio, landing, and path modeled in Onshape — with a bill of materials pulled straight from the model.

Open the 3D model

The process

Start to finish

  1. Design with the client — Model the patio in CAD and work through the pattern together.
  2. Order materials — Pavers, base, and sand, with quantities from the model.
  3. Prep the site — Clear and dig out the area.
  4. Compact and level — Run the compactor and level the base.
  5. Brick matrix — String a grid of lines and lay the bricks to it.
  6. Cut the walkway — Saw-cut the pavers to shape the walkway.
  7. Sand the bricks — Sweep sand into the joints.
  8. Topsoil and seed — Fill in around the edges and seed.

Lessons learned

01

A concrete saw is necessary

You can't cut pavers cleanly without one.

02

CAD is critical

The pattern, the cuts, and the material counts all come out of the model.

03

Set up a matrix of lines

A grid of string lines gets every stone roughly in the right place, so small errors don't compound across the patio.

04

Bricks are heavy

Plan how you'll move them before they arrive.

05

Rent a front end loader

Landscaping is much easier with one.